The Seafarers of Catan

5 - 5

Year of Publication: 1997

In The Beginning…

Was the island of Catan, and on that island small groups of people settled and expanded, becoming farmers, miners, shepherds and lumberjacks. However, the island proved to be too small to sustain multiple civilizations, so some of the people took to the seas to find new places to settle, and they became known as the Seafarers of Catan!

Okay, these Catan posts are going to be a little different to the normal reviews; as I’ve already done a full review post on the original Settlers of Catan I’m not going to do the “What’s In The Box” photos for any of the expansions or extensions, but instead only for the spin-off editions, like Starfarers of Catan or Star Trek Catan as those games are very different to the original. Instead all I’m going to do in these posts is to say which pieces are added to the base game to play the expansion and then review the differences in game play and give my opinion. All clear? Excellent! Without further ado:

What’s New?

Seafarers is obviously set over multiple islands, so each colour player is provided with 15 ships of their colour, which can be built by spending one sheep and one wood resource cards on your turn, and can then be used to travel to new places.

In addition to those the expansion also includes a large number of sea hexes and extra sea edge pieces to make the board bigger. Because several islands are involved in playing this game there are extra Catan Chits, with numbers on them to produce resources. There is also the new resource of gold, which allows a player who has a settlement built on one to claim one resource of their choice every time its number is rolled.

In original Catan each settlement gains a player one victory point, and a city is worth two. In Seafarers you get a bonus victory point for the first settlement you build that’s not on your original island, which is quite exciting. There are a few additional tiles that you put underneath such settlements so you don’t forget those points.

Lastly, in addition to the robber who lives in the desert, there is now also a pirate ship, which, obviously, lives in the sea.

Playing The Game:

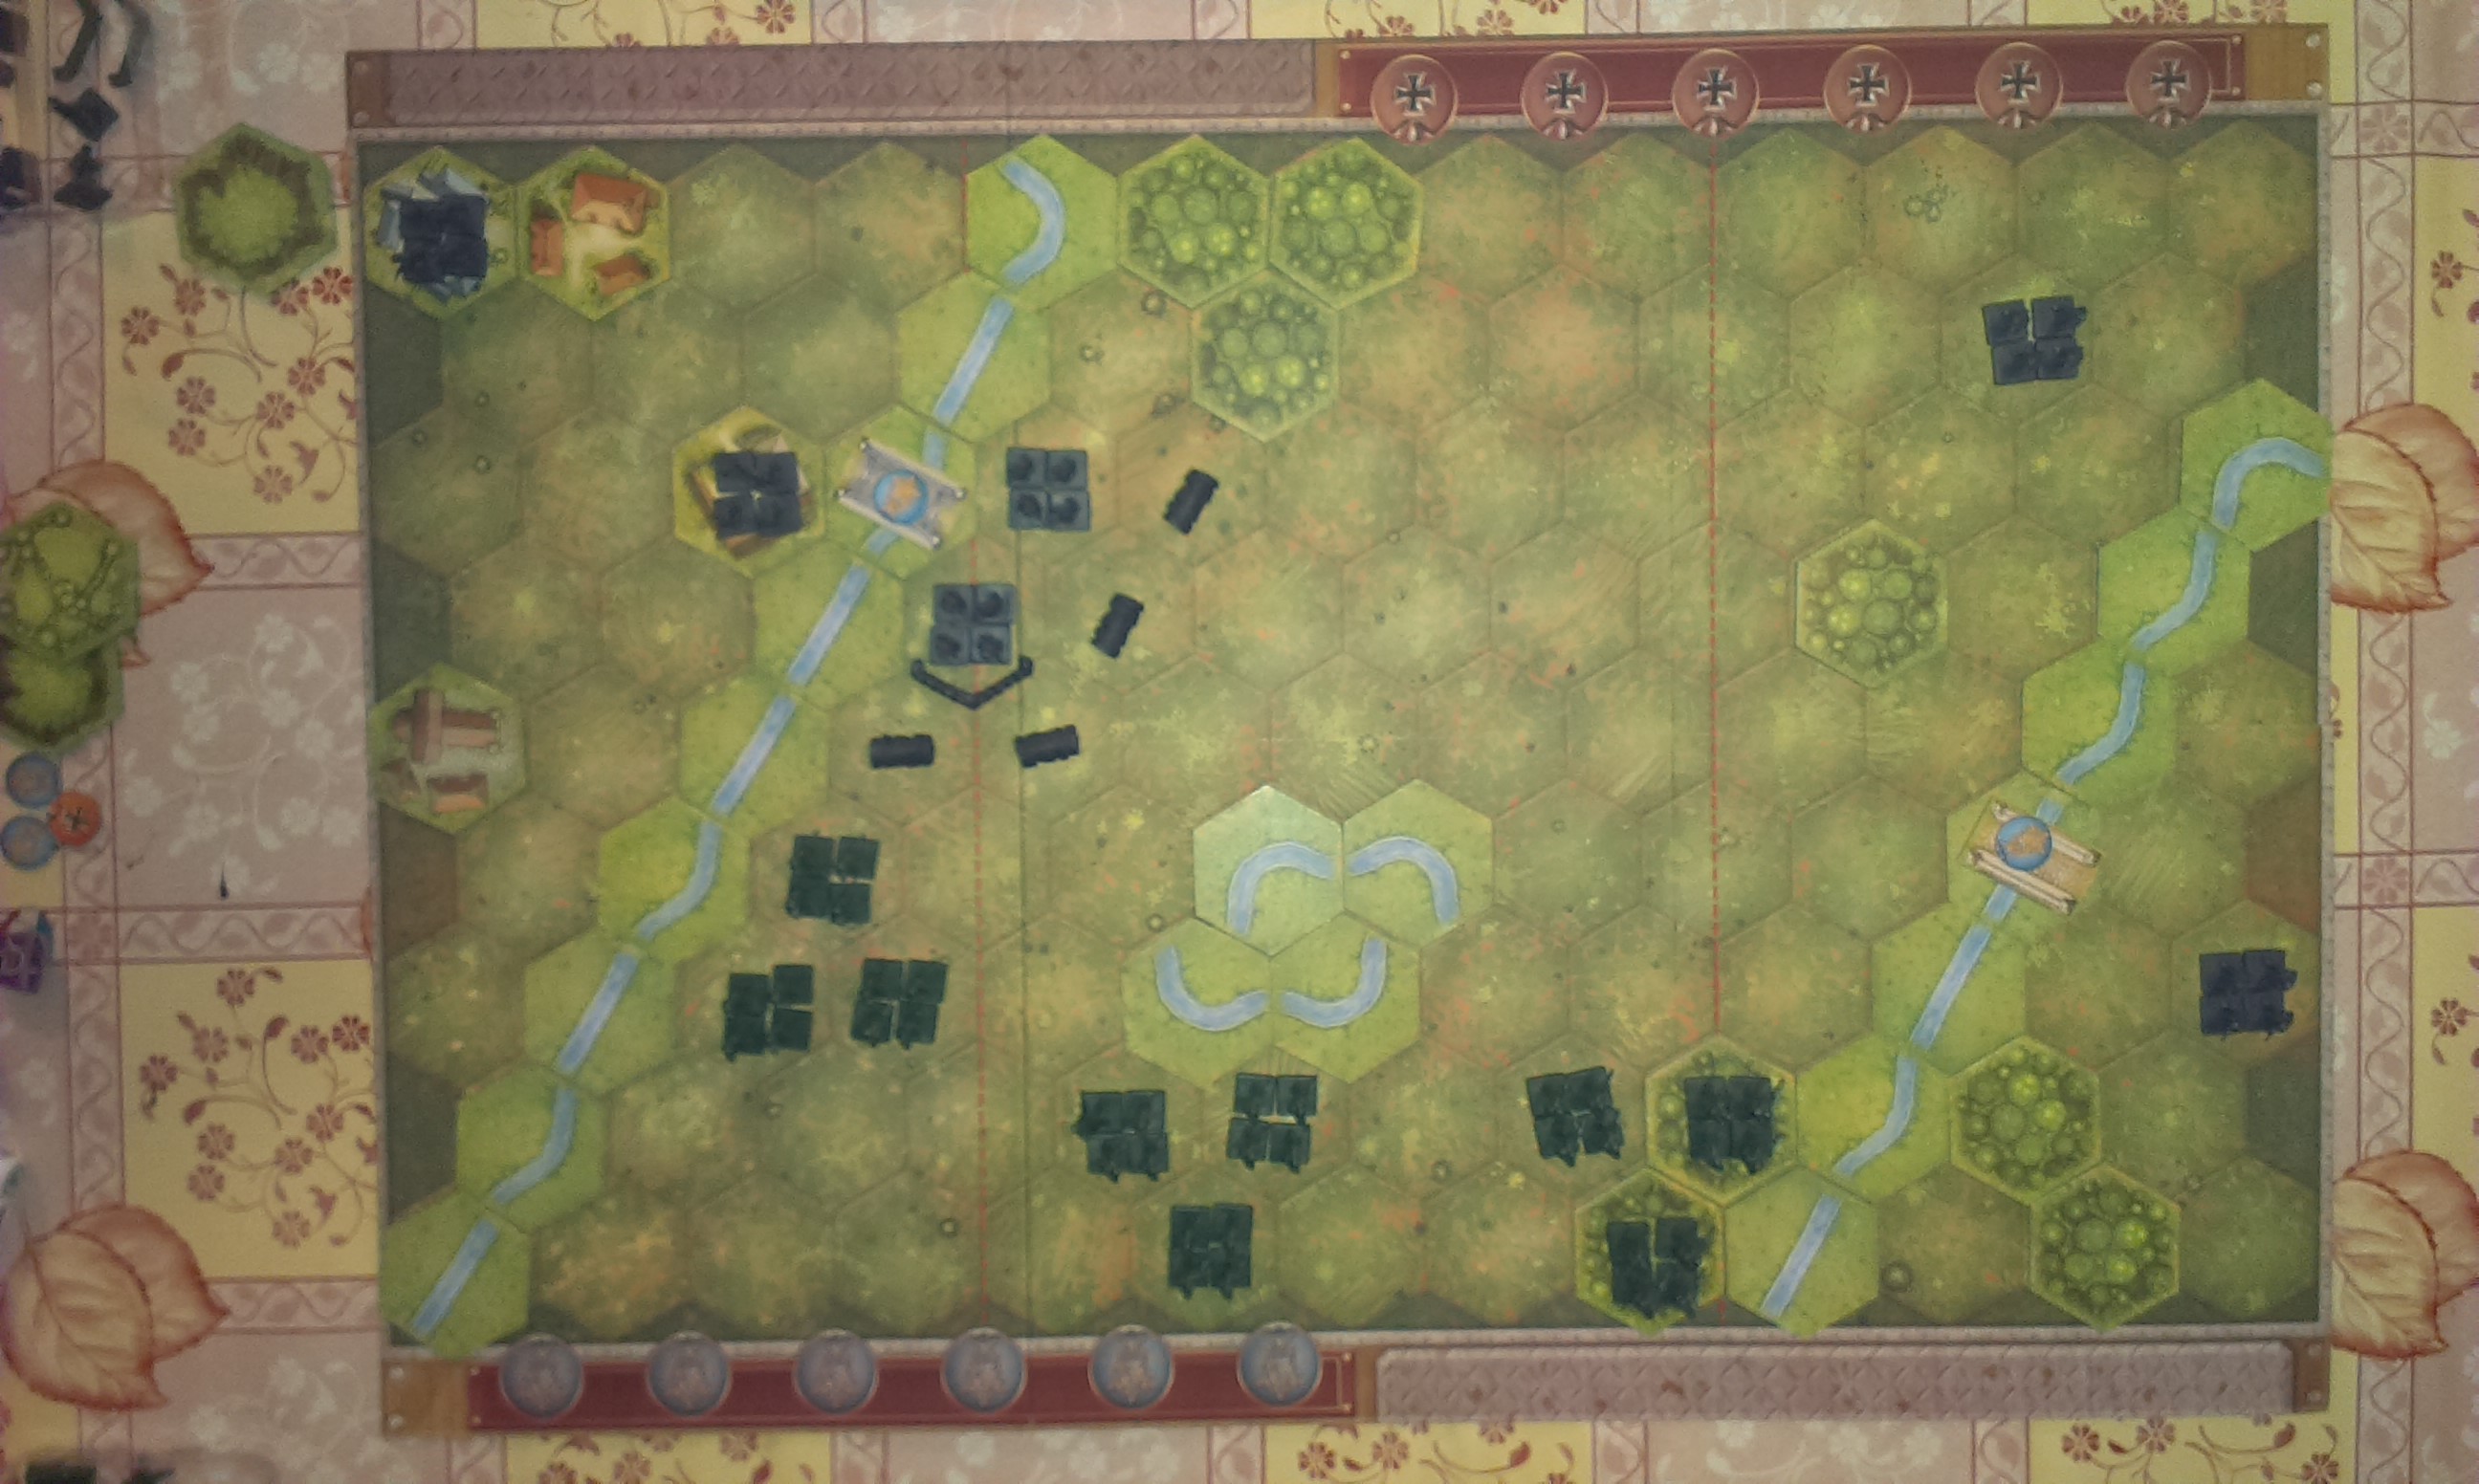
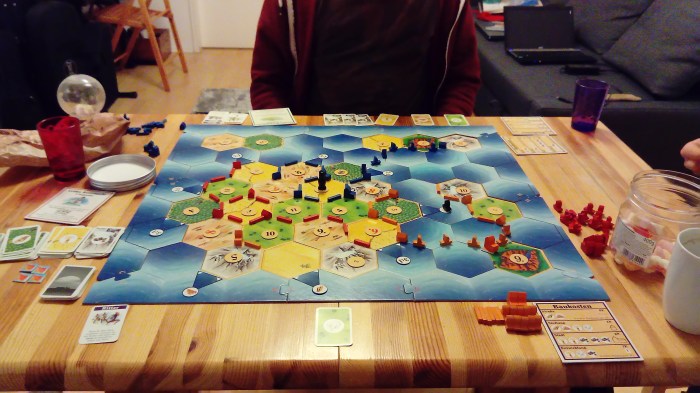
As you can see from the above pictures, the way players begin the game is exactly the same as in the original Catan game, each player starts with 2 settlements, each with a road attached, and takes resources from one of those settlements to begin the game.

A players turn is exactly the same as in the original game; you roll the dice to claim resources (being wary of 7, which I’ll explain the differences of in a minute), then you build roads/settlements/cities/ships or development cards or trade for resources with other players and play development cards, and then you pass the dice to the next player, ending your turn.

Rolling Seven!

Rolling seven is the same as in the original Catan in that the player who rolls seven gets to move the robber, and can take a resource from any player effected by where they move it to. Additionally any player with seven or more cards in their hand still has to discard half of them (the lesser half in the case of an odd number, i.e. if I have 9 cards with a seven is rolled I must discard 4).

BUT!

In the Seafarers version of Catan the player who rolls the seven has the choice of moving either the robber, or the pirate ship. The pirate ship works slightly differently to the robber – the robber prevents resources from being harvested in the hex it’s on, but doesn’t do anything else. The pirate ship however has to stay in the sea, and so, instead of preventing resource production, it prevents a player from building new ships that would sit on any of the sides of the hex it’s on.

dsc_0319

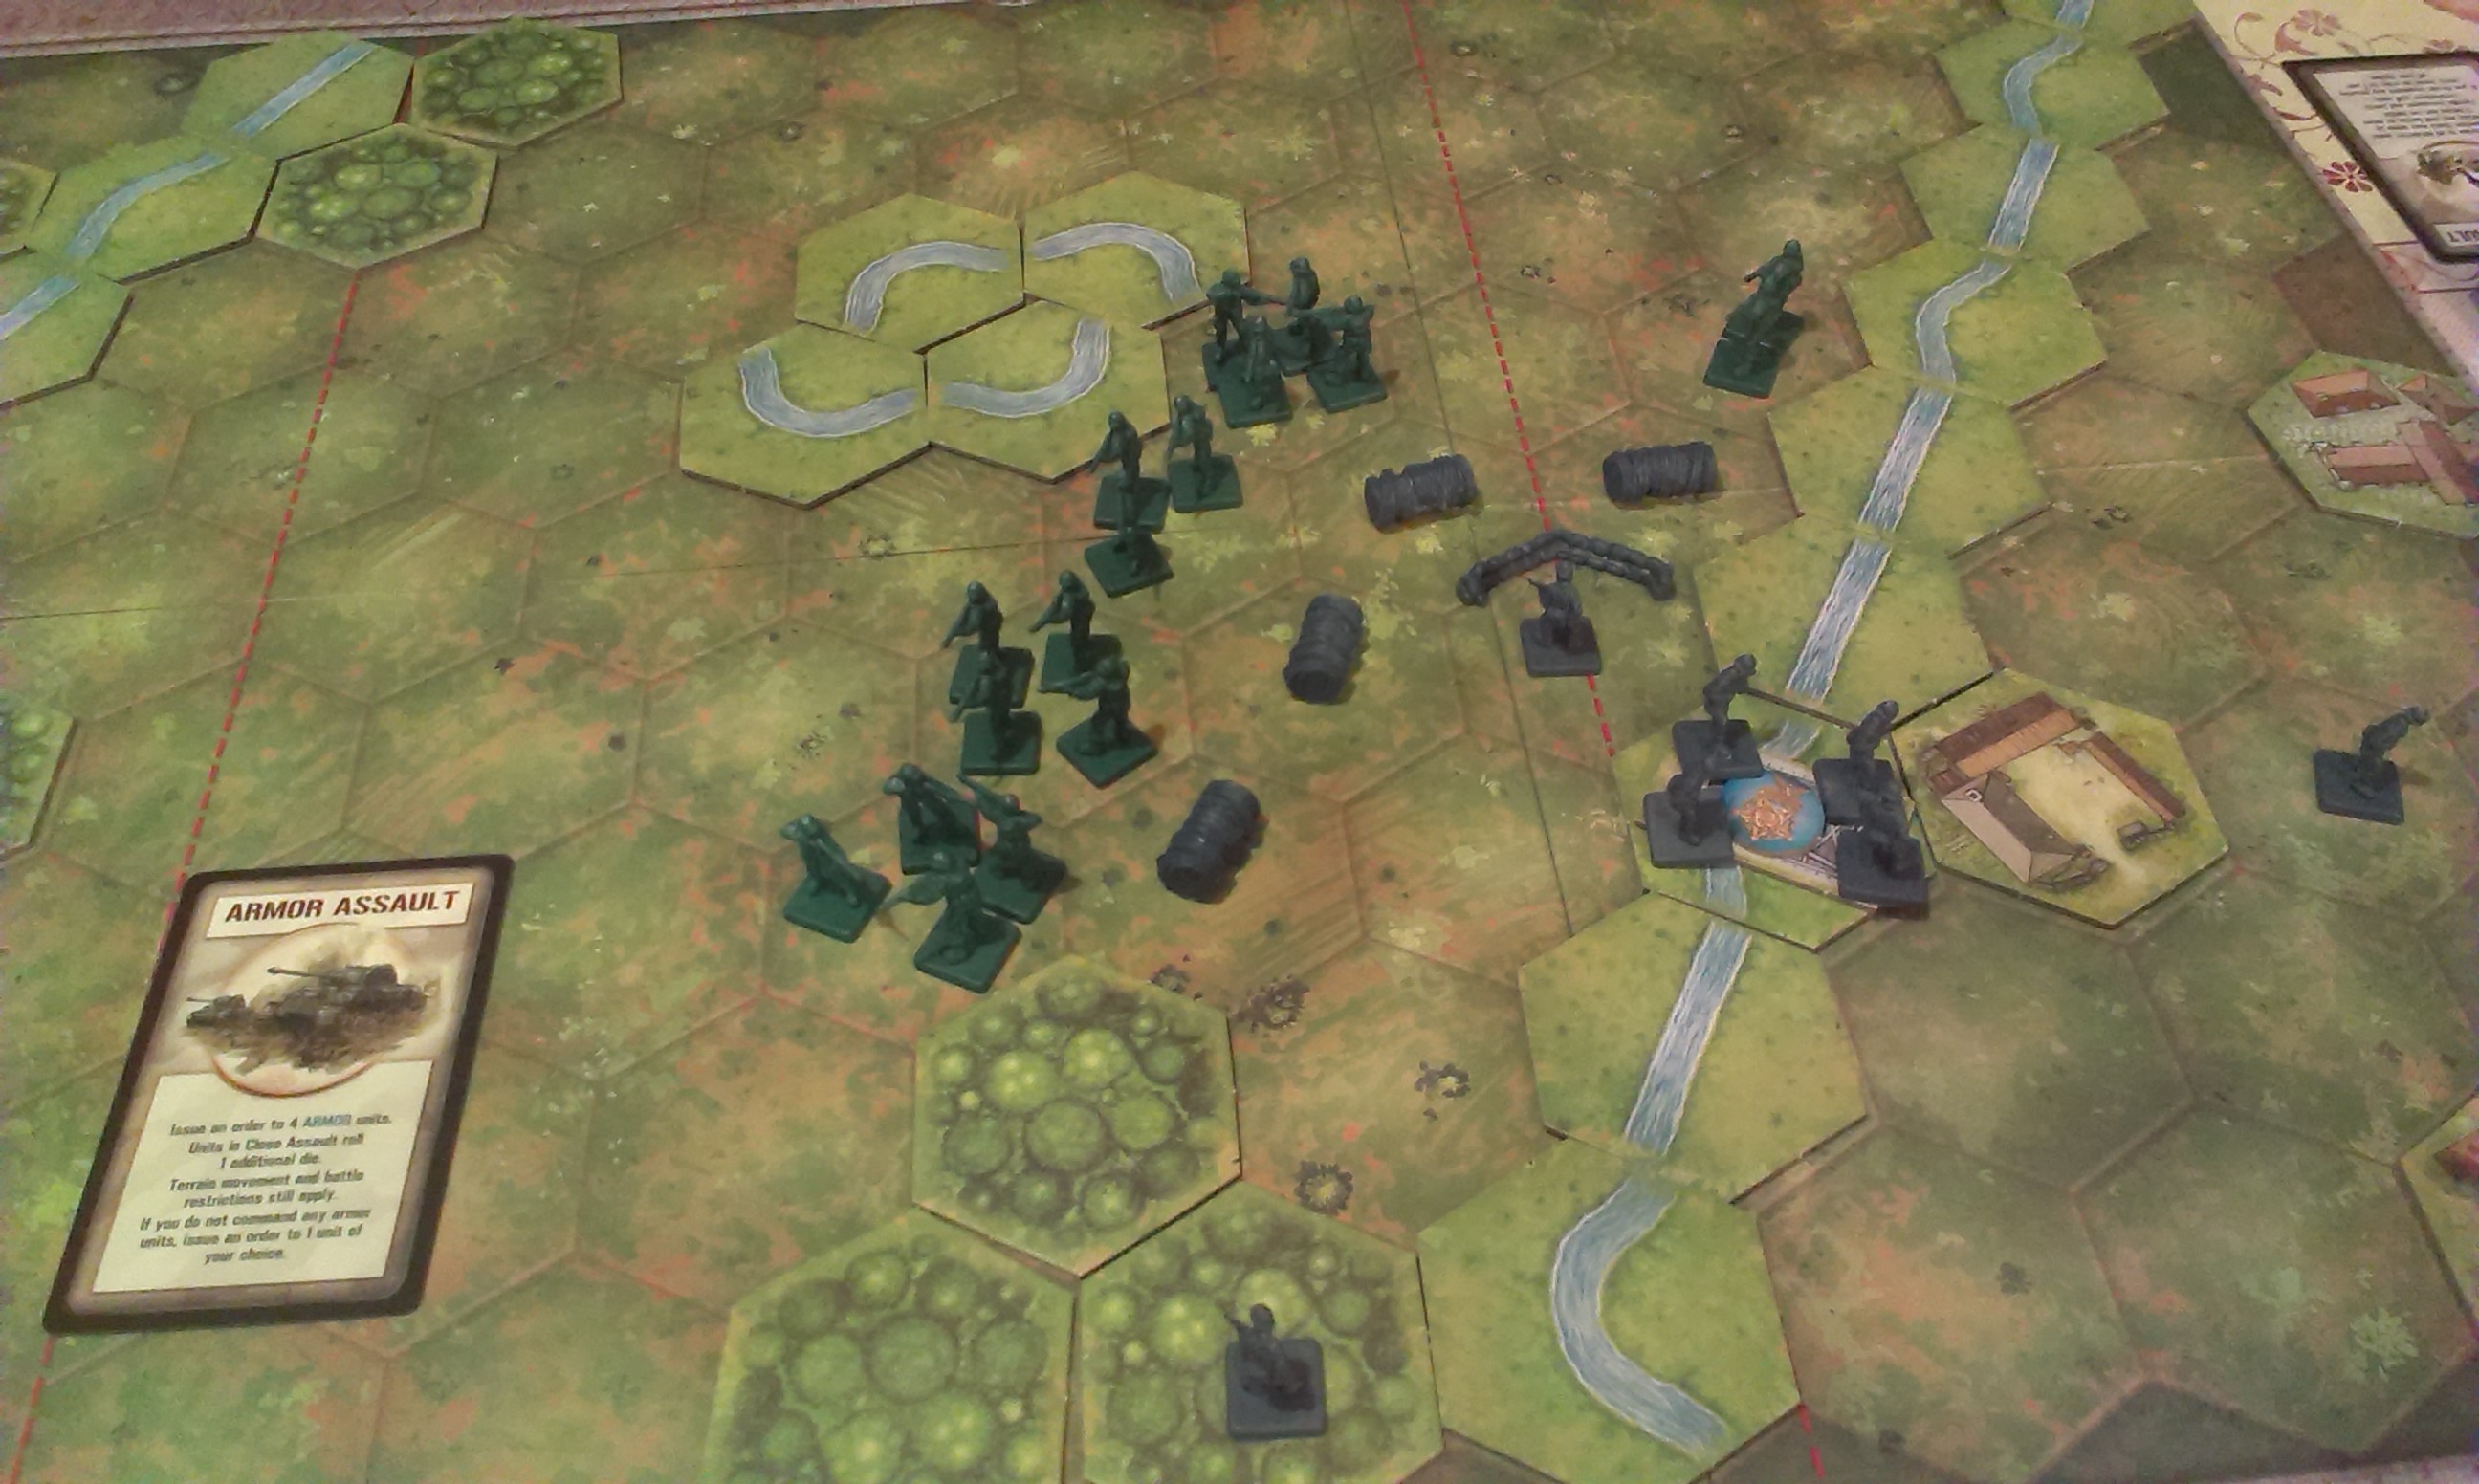
As you can see, in this picture the pirate ship has been moved onto a hex that the orange player (me) is currently trying to sail through. However, until the the pirate ship was moved I could not build any more ships there.

Game play proceeds in the normal way; each player tries to build settlements, roads, cities and development cards in order to collect the required number of Victory Points – in this edition 13 – to win the game.

dsc_0322
Blue wins the game!

The winning player is the first to reach 13 Victory Points and the game ends immediately when that happens.

Strategy:

I would say that getting to the coast is key in this game; with the addition of ships the possibility to extend your road is literally doubled and the extra Victory Points gained both from having the longest road, and from building settlements on new islands are valuable. The winning player when we played had a combination of luck (good dice rolls gaining him lots of resources), settlements upgraded to cities, the longest road, development card Victory Points and settlements on a new island – so literally every possibility in the game!

Also, if one player is in a much better position to win than the others, feel free to make an agreement with the other players to not trade any resources with them, there’s no shame in sabotaging someone else’s chances to further your own cause!

In Conclusion:

This expansion is, in my opinion, worth buying, as gives that little bit extra to the basic game, making it more interesting. This game also has many different scenarios, some of which I may write short reviews of over the coming year, which gives it more diversity than the original version, which can be altered, but not drastically.

I recommend this game as an excellent family game, and good for both board game nerds and board game likers who aren’t ready for anything more intense.

dsc_0325
The smug face of the winning player.


Advertisement

On The Tenth Day Of Christmas, My True Love Gave To Me…

Sphinx! And asked if I knew the answer to the riddle…

The Rules:

Sphinx is a great kids game which takes half an hour or less to play. Each player starts on the same square in the maze and moves around by rolling three dice. There are two symbols on the board, one is a little coloured card, called a Sphinx card, the other is a mummy hand. The Sphinx card allows you to collect a card of that colour from the stack next to the board, you need these to win the game. The mummy hand allows you to look at the colour of the base of one of the six Sphinxes on the board. There are three Sphinxes in the center of the board, guarding the treasure, there are also three Sphinxes down the right-hand side of the board. Each of these has a different colour on their base. To win the game a player must advance to the middle of the maze and present the correct coloured Sphinx cards in the correct order to reach the treasure. There is a double snake symbol on one of the dice. this means that the player who rolled that symbol must swap one of the Sphinxes in the center of the board with one on the side. In doing this the pattern of colours in the center also changes. The game is won when a player correctly guesses the colour pattern of the center of the board with the correct Sphinx cards.

For Christmas?

Yup! It’s a slightly more challenging game for kids who are a little older. It’s a great introduction to strategy and memory games and can be used as a learning point for the myth and history of the Sphinx (if you’re into that kind of stuff). It could also be an excellent opportunity for the kids to teach Aunt Jean something, as we all know that her interest into history doesn’t extend further than the pedigree of her favourite dog!

Happy Tenth Day of Christmas, if you’re being bored by these posts, just hang on for two more days, and then everything goes back to normal on the blog!

Memoir ’44 – 03 – Sword Beach

Winner: David

Full Scenario

History:

The set up!
The set up!

Morning. June 6th. 1944. The 8th Brigade Group of the 3rd British Division, supported by Commandos of the 1st Special Service Brigade and the Sherman tanks of the 13th and 18th Hussars make up the first wave of Allied forces to land on “Sword” beach, near the mouth of the Orne River.

The objective of the day was for the Allied forces to retake the city of Caen, and although the French troops captured the Casino at River Bella, the Allies failed in this objective. The sea was difficult that day, the tanks were supposed to land first and engage the enemy before the infantry landed, however, tanks and infantry ended up landing together. This coupled with the German resistance meant that the inland advance was seriously delayed. The failure to retake Caen was one of the biggest set-backs of D-Day and the consequences were still felt well into July of that year.

Strategy and Tactics:

Axis:

You have a defensive advantage in this scenario. Not only are the Allied forces advancing from the sea, which initially gives them a terrain disadvantage, but some of your forces are also already holed up in bunkers. Bunkers are useful as they give a -2 to tanks and a -1 to infantry when being attacked. You also possess the only artillery unit in this scenario. This is, if you manage to prevent its destruction, probably your most useful unit, as it has the longest attack range.

Despite these advantages you also have fewer troops than your opponent, and your only tank unit starts in a useless position, from which you have to order it twice to get it within attacking range of the Allied forces. You also have one less command card, and move second.

Okay, so that aside, tactically we found that arranging your troops towards the back of the board and then waiting for the Allied forces to come to you was a fairly sound way of playing the scenario. Though it’s definitely worth dragging your tank unit out of the corner early on. I would also generally say that it’s worth keeping the units that are already in the bunkers in them, unless for some dire reason you have to retreat or lose that unit.

Because wood hexes provide a -1 for attacking a unit in the woods it’s also worth trying to position your in Lion Sur Mer in the most forward of the two woods hexes next to it, this moves you closer to the fighting action whilst giving the unit a decent terrain advantage and enabling it to be close enough to try and prevent Allied forces taking the town and claiming the medal there, that contributes to their victory points.

Other than that, I would say, try not to let yourself get surrounded by the Allies, because they’ve got a lot more firepower than you, and also, if possible, knock out their tank units first, as these move further and have a fighting advantage over infantry units as well as needing less hits to destroy a unit.

Allied:

Although you start in the sea, you have an advantage in number units and number of command cards, as well as being the side that starts the scenario. Not only do you have three tank units to the one that your opponent possesses you also have three special forces units available to you, these are able to move up to two hexes and still battle, where regular infantry can either move one and battle, or two and do nothing.

Your first task is to get your units out of the sea, this is slow going because of the terrain restrictions that the sea imposes, but we found that it was tempting just to move either one block of your units out, maybe just from, say, the left flank, or to maybe move one unit from each section of the board, depending on your command cards. This is however, not a good idea. If you move one unit from each section too far from its comrades you make it an easy target, remember that you’re at a disadvantage with the bunkers, not to mention the hedgehogs and barbed wire that’s between you and the Axis forces.  And if you only move one block and ignore the others you also make those units targets because if they’re in the sea and they get attacked a retreat roll on the battle dice counts as a hit because you cannot retreat and so must sacrifice one member of your unit for every retreat rolled.

If you start out with any command cards that enable you to annihilate your opponents artillery unit this is a big score early in the game, it levels the playing field a lot. Not only does it have only two pieces to a unit, making it the easiest to destroy in terms of dice rolls needed, but it also makes it much harder for the Axis player to just sit and wait for you, as they can no longer pick off your units from such a distance.

Surrounding bunkers is a good way of destroying a unit completely, if you attack a bunker with three units instead of just one, you’re less effected by the defensive advantage they give to the Axis player.

Lastly, don’t forget about the medals in the three towns at the back of the board. Each one of these counts for one of the five victory points you need to win the scenario if you capture, and hold, the town. They’re worth going after because they mean you need to physically destroy less enemy units.

To Conclude:

I really enjoyed this scenario from both sides. As you can see from the running score we’re keeping – I lost. But it was fairly close both ways round. It was more a lack of useful command cards than any tactical errors made. This scenario is also great because you get artillery and special forces units in play, as well as bunkers, hedgehogs and barbed wire, which adjust the way you have to think about moving around the board. This is great because by this point you’re familiar with the infantry and tank units, and then the game gives you something new to play with. It also starts to pick up the pace of play. Dave mentioned in his last post that he thought it felt a little slow, I agree with him, but I think that this scenario really cranks the game up a bit, making it much more interesting.

Running Score:

David: 8

Miriam: 4


Memoir ’44

5 - 5 - Strike Thro

4 - 5

Number of Players: 2

Year of Publication: 2004

Creator(s): Richard Borg (designer), Cyrille DaujeanJulien DelvalDon Perrin and Claude Rica (artists)

Right. Well. I think we played that wrong….

We should really include that in all the titles/opening paragraphs for this blog, since I can’t immediately think of any game that we haven’t played wrong at least once. Memoir ’44as has been stated at least once now, is a fantastic game. I don’t think we’re likely to ever get bored of it. Based on real scenarios from the Second World War it’s not only interesting for its historical accuracy, but also as a strategic game.

What’s In The Box:

IMAG2834
The Stuff


Countryside side of the board
The board beach side
Beach side
The Rules
The Rules
  1. 14 Special Forces Badges
  2. 3 Blue and 3 Green Command Card Holders
  3. 44 Double-Sided Terrain Hex Pieces
  4. 60 Command Cards
  5. 1 Double-Sided Obstacle Summary Card and 1 Double-Sided Unit Summary Card
  6. 7 Terrain Cards
  7. 8 Battle Dice
  8. 2 Sets of Army Miniatures; Green = Allied Forces, Blue-Grey = German/Axis Forces
  9. 4 Double-Sided Bunker and Bridge Tiles
  10. 10 Double-Sided Victory Medals
  11. 1 Double-Sided Battlefield Board Map
  12. 1 Rules and Scenario Booklet

Playing The Game:

Objective: To fulfill the scenario’s victory conditions before your opponent and score more points after you’ve switched sides.

When you read the rules for this game you’ll see that the first scenario it recommends you play uses only the Infantry Units available to each side. This is very good, as the game builds you up to a thorough understanding of each of the different types of unit available to you in different scenarios by introducing them one at a time into gameplay.

You start by setting up the board, as directed in the instructions for the scenario you’re playing. You change the look and layout of the board by using the terrain hexes to put in woods, hills, villages, rivers etc.

The starting set up of the first scenario in the rulebook
The starting set up of the first scenario in the rule book

Once you’ve set the board up for the scenario you then decide who’s playing as who. In the rule book the scenario instructions will tell you which side plays first, and how many Command Cards each player is dealt to begin with.  Players then take turns. There will be a preset condition for victory in each scenario.

The Command Cards contain an array of  things a player can do on their turn, standard orders or special commands. These mostly look like this:

an example of the Command Cards most commonly in play

The special command cards look like this, but are all different:

A special command card

Winning The Game:

There is no time limit to the scenarios, players continue taking turns until someone manages to destroy enough enemy units to fulfill the victory conditions for the scenario. Then the board is reset and players switch sides. A note is kept of the score from the first round, for example, if the victory condition was that someone needed to have completely destroyed 4 of their enemy units and the other player had destroyed 2 when this happened you would then make a note, and at the end of the following round the victorious players score would have to be the highest total number of units destroyed.

Strategy:

We realized fairly early into the playing stages of this that the scenarios are usually relatively heavily weighted towards one player, they may have an advantage in the number of Command Cards they have, or in having bunkers or sandbags. But despite this, if you play reasonably tactically, all the scenarios we’ve played so far could go either way.

We started out just playing the most obviously useful card we had in our hand at the start of each turn, and seeing where it got us. Because the destruction of a unit is determined by a combination of the card you played, the position of your units, the terrain around you and the rolling of battle dice it can be unreasonably hard, on occasion, to annihilate a unit that should have been wiped out the first time you attack it. This is both true to the slightly unpredictable nature of a battle, and completely inaccurate as an Armour unit fighting Infantry at what is more or less to be considered point-blank range should not somehow manage to miss all of them. But that aside, it is possible, tactically, surround and destroy units, using terrain disadvantages to your advantage.

There is a lot to be said about strategy on this game, but we’ve decided that in the interest of keeping you interested, we’ll go into much more detail on tactics and strategy, as well as historical overview and other exciting things like that as we write about each scenario individually.

History and Interesting Things:

  1. The game was designed to commemorate the men and women of WW2 and the sacrifices they made.
  2. It was published in collaboration with the Mission for the 60th Anniversary of the D-day Landings and Liberation of France.
  3. In 2004 it was awarded the International Gamers Award for the General Strategy: 2-Player category.
  4. There are eleven expansions for this game, all of them require the original to play.
  5. The game can be played with up to six people, playing in teams of three, each commanding a different section of the board.

There is more to write, but we want to look at the history of each scenario in greater detail over the course of the month, as we’re doing with our Strategy section of each post.

To Conclude:

As is evident, we love this game. We hope that over the course of the month these posts will show us gaining a better understanding of the game, and knowledge of the historical associations of each scenario. As well as actually letting us play a game more than once, which will make a nice change to our usual style of review. If you can get a copy of this game and a friend or two who might be interested, do it. Otherwise, stay tuned for our upcoming post of the first scenario of the game Pegasus Bridge!