. . . 7 Hours Later We Have An Interesting-Looking Cake
A while ago Dave and I decided that it might be fun to branch out a little into Board Game-related other things, so behold, Scrabble-cake!

So anyone that knows me will know that I do a lot of baking, the weirder the cake, the better. A while ago I had an idea for a really cool cake to make Dave for his next birthday; unfortunately this idea came about three weeks after his most recent birthday. The only plus side is that I’ve now got the better part of a year in which to make it a few times and discover the most practical way to go about it. Which I didn’t have with this cake.
The idea for Board Game cakes came from a “hey, why don’t we choose a Board Game of the Year, at the end of every blog-year?” idea (different to calendar years, but similar to academic years because the blog started at some point last September). And turned into “I could totally make a cake that was the board of the game we choose!” Then, back at the end of March, it was my friend’s birthday, and her favourite game of all time is Scrabble, the official post for which is also now up. So I set myself the task of making her a Scrabble-cake.
The above photo is the end result of my first (and currently only) attempt at such a thing. The game represented there is one we’d actually played a week or so before. I do also realize that there’s some dubious words on there, as far as the real rules for Scrabble go. But we’ve always had a more flexible approach to it than most.
Things You Will Need/Whatever It Was I Used:
I made a fairly standard (albeit huge) chocolate cake for this, because a) chocolate cake is awesome and, b) I needed something relatively solid to squidge lots of icing onto.
The Cake Recipe:
This chocolate cake is amazing, super-simple, and takes next-to-no time to make, but I need you to keep in mind when looking at the amount of each ingredient you’ll need that I’m giving you the double-dose that I used for this cake, so it’ll turn out pretty big.
You will need:
- 250g Soft Butter
- 2 teaspoons of Vanilla Essence
- 550g Caster Sugar
- 4 Eggs
- 400g Self-Raising Flour
- 100g Cocoa Powder
- 320ml Water
Method (I love this method):
Combine all ingredients in a large bowl, beat on low speed with electric mixer (or on standard speed if doing this by hand) until all ingredients are combined. Increase speed to medium (or beat faster until your arm wants to fall off) for about three minutes or until the mixture is smooth and has changed to a lighter colour. Spread into a large square tin (pre-greased, of course). Bake on 180 degrees Celsius until cooked when poked. Stand the cake for five minutes before turning out onto a wire rack to cool.
My favourite thing about this recipe is that the method essentially just tells you to bash everything together in a bowl, stick it in a tin, and shove it in the oven; after seeing so many complicated, lengthy cake recipes, this one makes me very happy.
Making the Scrabbly-Bit:
The Things I Used:
- A large pack of roll-out white icing
- 2 thin bladed sharp knives
- 1 bottle of green food colouring
- 1 sterilized pin (but if you can get icing pens, or have a steady enough hand to substitute a clean paintbrush, I highly recommend it)
- 1 small paper square template
How I Went About It:
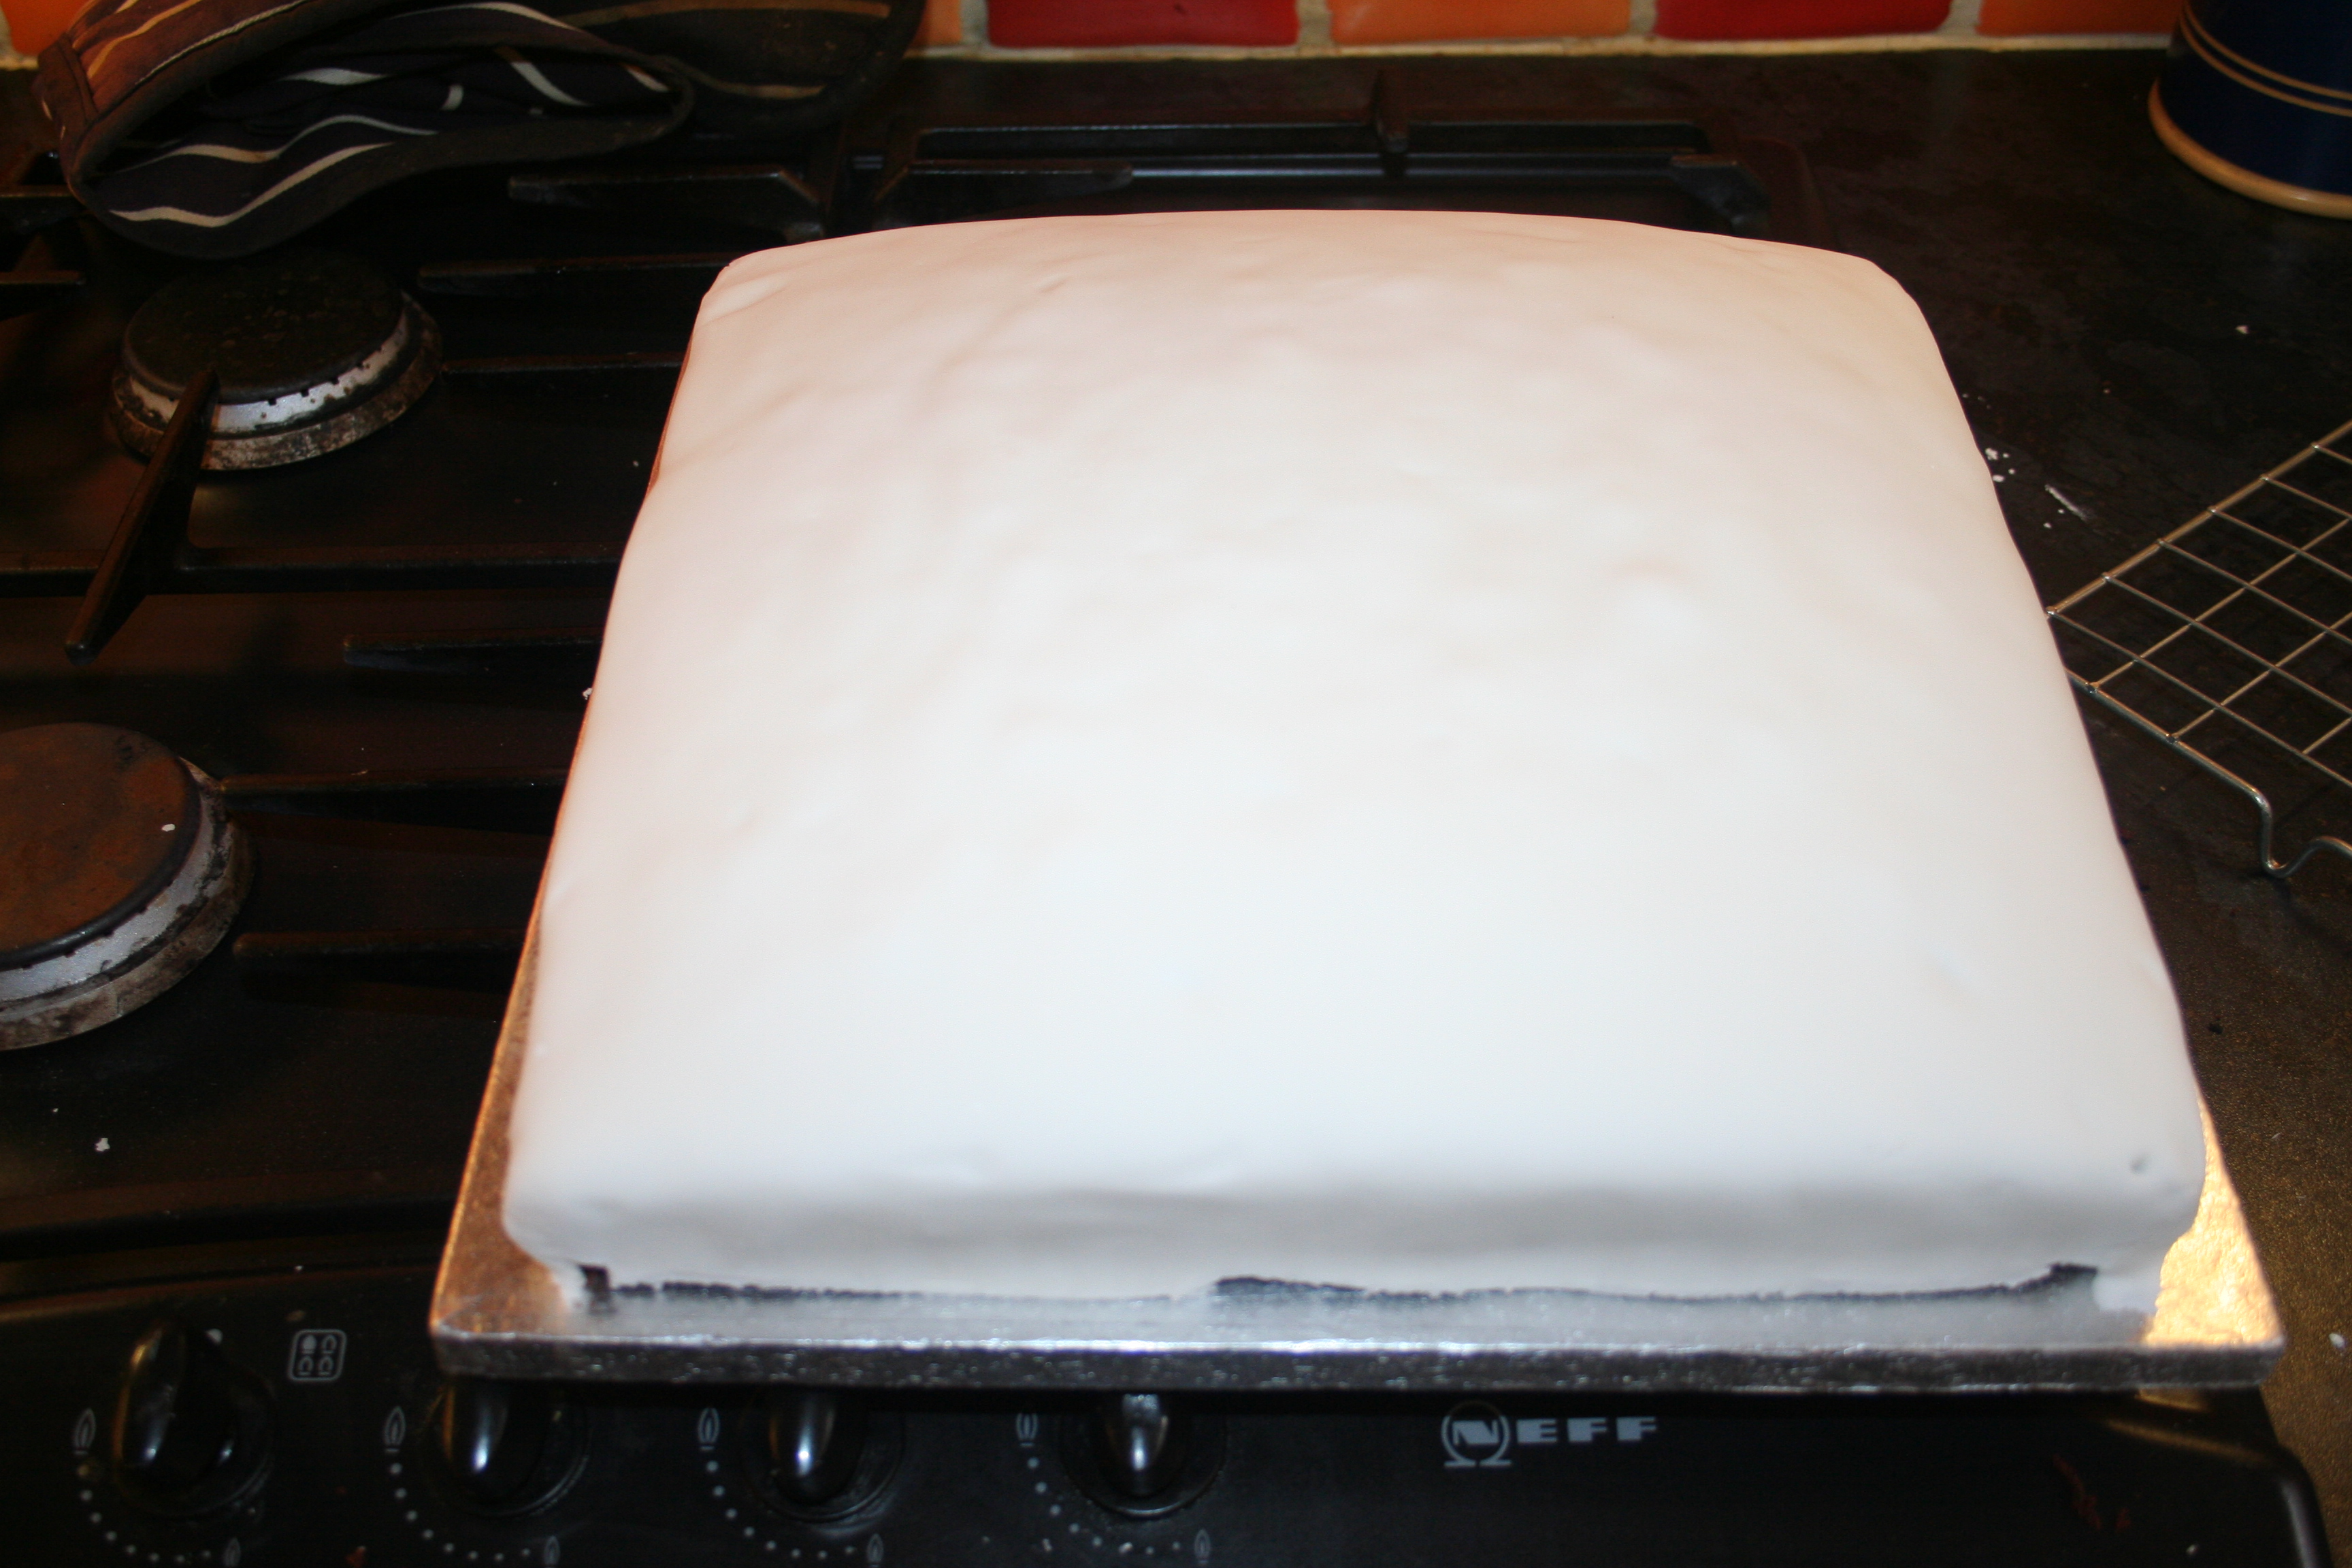
First, after the cake had cooled a bit (I didn’t let it cool completely, which I should’ve, because I’m impatient and wanted to get on with things), I completely covered it with a big square of the roll out icing, this was to provide a surface on which to recreate the Scrabble board, although it wasn’t as flat as I would’ve like. So your basic cake, before you start anything complicated, should look like this:
Making the tiles and putting letters on them was the hardest bit, and, on reflection, there were probably better ways to go about it. I briefly considered making all 100 Scrabble letter tiles, before realizing that we hadn’t used all 100 (although we weren’t far off it) in the game. So instead, I got up the photo of the game and counted how many tiles I needed. I then rolled out a whole kitchen-tables worth of icing, and started cutting out tiny squares. After many hours of painstakingly trying to keep the squares actually square as I cut them out, I’d achieved this:

The next step was to actually make them into letters; I did this by using a bowl of green food colouring (because we didn’t have any black or blue, and yellow and pink are crap colours for this kind of thing) and a pin. I used to tip of the pin to etch the letters and their point value into each tile, and then tipped the pin with food colouring, to make them visible. I decided the easiest way to prevent mistakes was to make the game one word at a time, starting from the top left-hand corner, which I did. This is the photo of the game that I was working from:
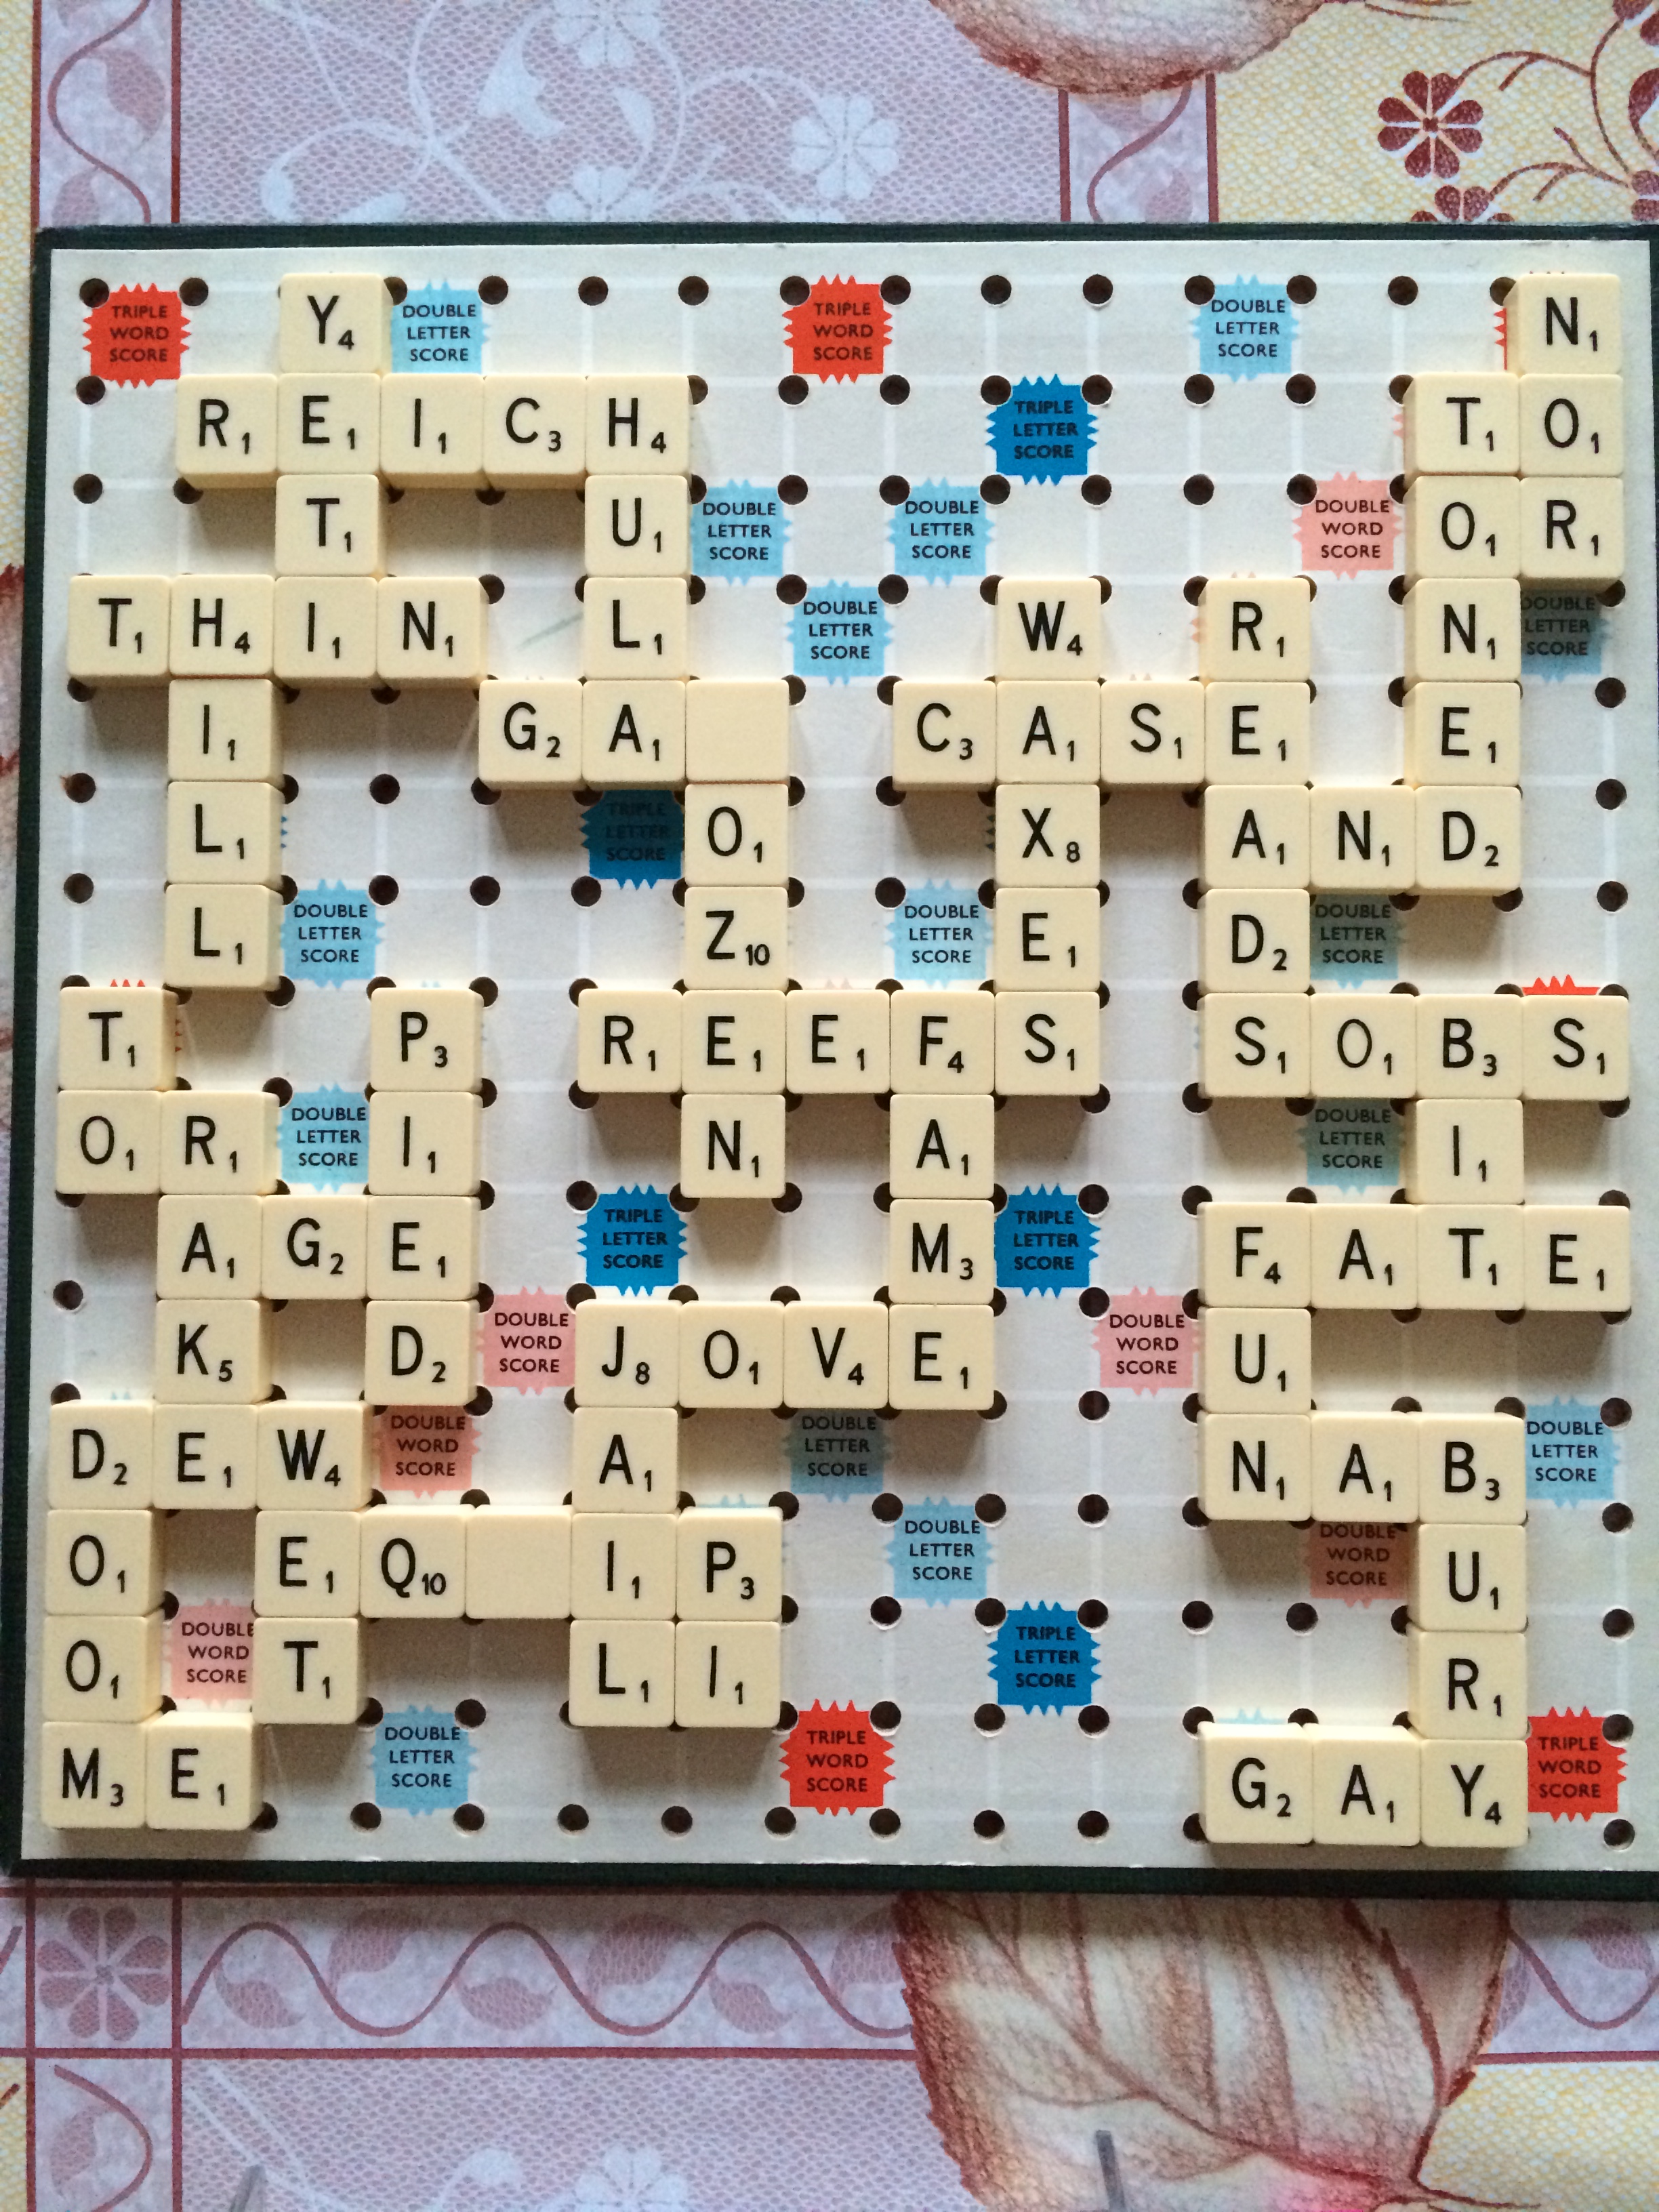
My recreation of this game looked like this (before I put it on the cake):

Now all that was left was for me to transfer this, to the cake. A part of me still thinks that this should’ve been a simple job, but because the cake wasn’t all that flat across the top, it became much harder than it initially appeared….
Initially, I moved the tiles onto the cake without fixing them down in any way to make sure they all fit, and to space them out properly. Prior to cutting out the tiles I had done the maths of measuring the width of the cake and then working out from that the dimensions that each tile needed to be, to ensure that I could fit them all on and keep it accurate to a real Scrabble board (albeit with a lot of artistic license), so I shouldn’t really have needed to put them on loose first, I could’ve just stuck them straight down. Buuuut, my maths skills are not the best; I have been known to not be able to count to five in the past, so I second-guessed myself, and made everything take that much longer by checking it was all okay.
After I’d done this I managed to convince myself that I had got it more or less right, and stuck the tiles down. For this I used jam of some description that I found in the fridge, warmed in the microwave. I spread a little of this on the back of each tile, and then fixed it to the cake. However, I warmed it slightly too much, and some of the tiles closer to the edges of the board started sliding, which was irritating, because I then had to hold them until the jam set a bit.
Once I’d got through this, the cake looked like this:

Finishing The Cake!
I realize that at this point the cake still doesn’t look an awful lot like a Scrabble board, and in the finished photo, it doesn’t hugely either, because I took a lot of artistic license at this point, in the interest of being able to go to bed. My sister, Ruth, had suggested that using Magic Stars would be a really nice way of putting the double/triple word/letter scores onto the cake, without having to write anything onto it, so I did that. And that was all I did. After that I decided that the cake was finished, and went to bed.
Things I’ll Do Differently Next Time:
- BUY ICING PENS. Seriously, these would’ve made my life much, much easier, using a pin to create the letter tiles was unbelievably awkward, and so easy to mess up.
- Use sugar paste instead of jam to stick the tiles down, although I’d probably still have the problem of them sliding a bit, the stuff is at least the same colour as the icing, so the mistakes are less noticeable.
- Try harder to make the cake come out flat/chop the lumpy bit off before starting to ice it. This would’ve made my life much easier if I had been working onto a flat surface, rather than one that was curved.
- Draw on the board. Next time, I’m definitely going to draw out the actual Scrabble board onto the cake, and recreate a game onto that.
All that said, this cake was awesomely fun to make, and it was so big that Rachel and I managed to feed around 40 people with it! So I’m definitely doing this again. And there will also be more themed-cake posts in the future. If you try making this, please let me know how it turns out, and send photos, I’d love any kind of feedback!
