Number of Players: 2-8
Year of Publication: 1933
Creator(s): Charles Darrow (Designer) and Frantz Rey (Artist)
If I Can Just Get Past Your Hotel, I’ll Be Fi- NOOOOOOOOOOOOOOOOOOOOOOOOOOOOO
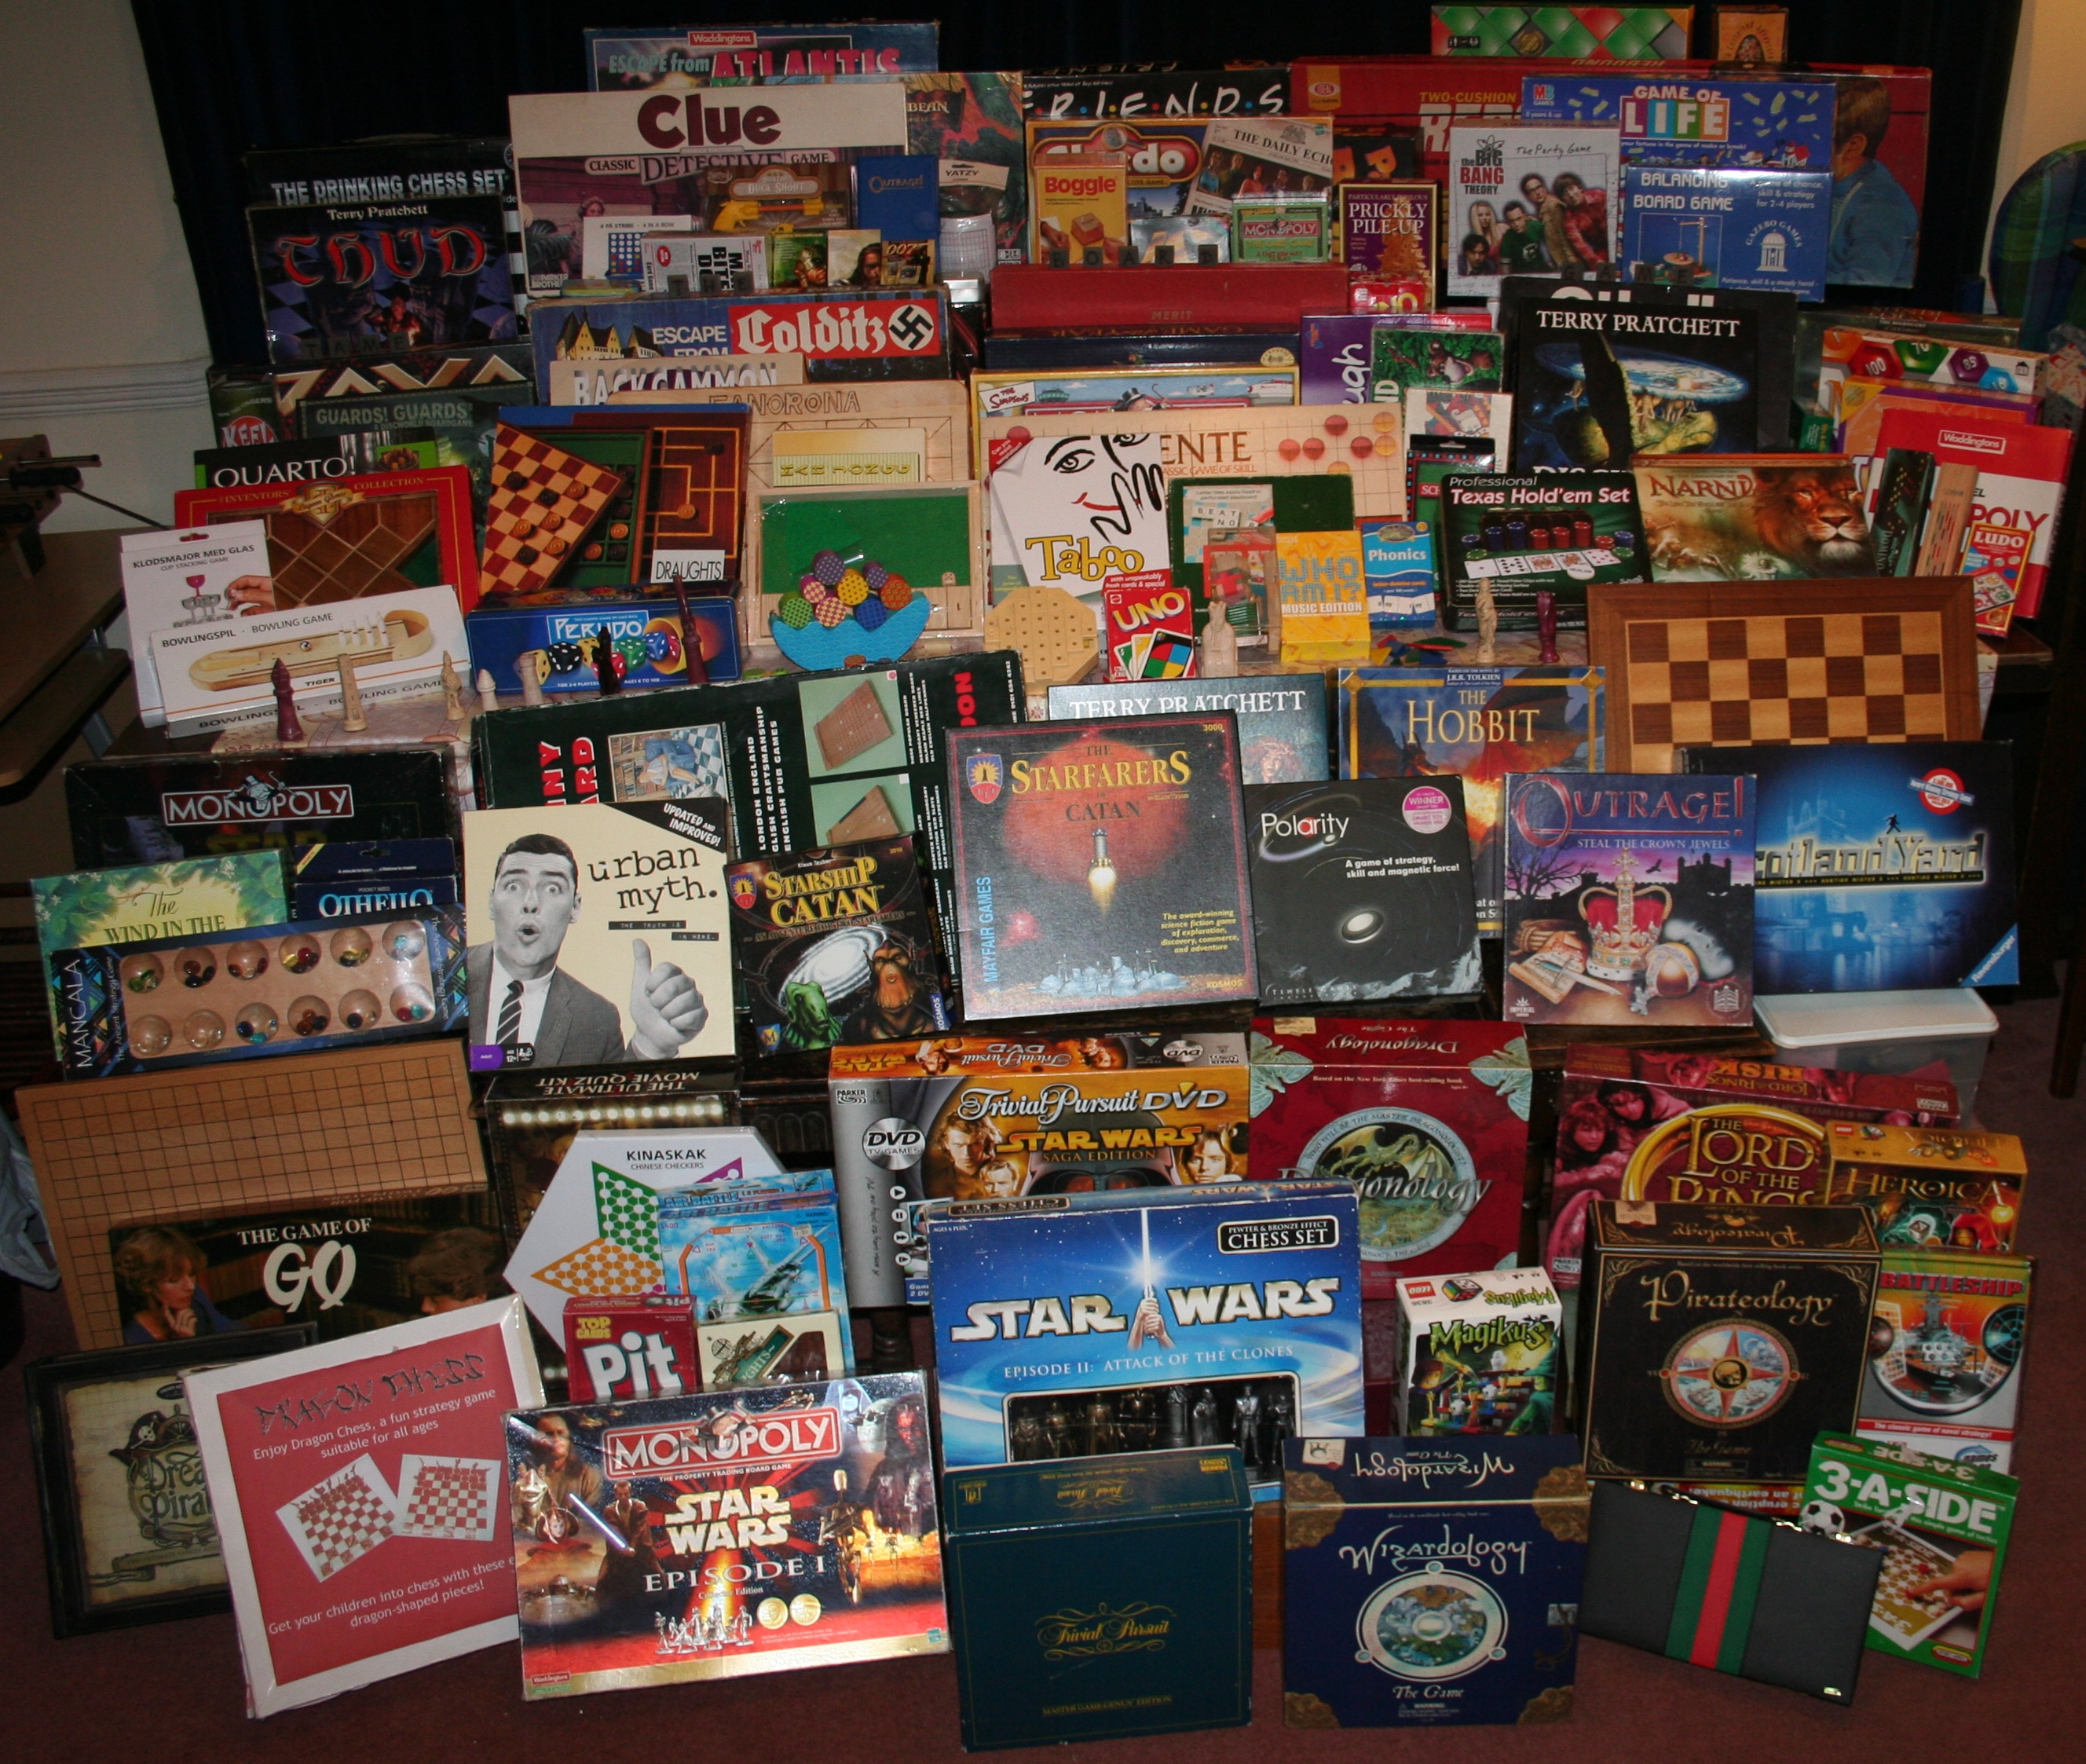
Monopoly is probably the first game that comes to mind when someone says to you “What’s a really old board game?” either that or Clue. I’m fairly sure that most of the world is familiar with the concept of Monopoly even if they’ve never played it, it’s just one of those games you know about. Now, in our house we have a slightly different approach to Monopoly. We collect it. I think the list is currently at Star Wars Original Trilogy Collectors Edition, Star Wars Episode I, The Simpsons, Lord of the Rings Trilogy Edition and Travel Monopoly. The copy of original Monopoly featuring in this post actually belongs to our sister and brother-in-law, and before them, our Grandma.
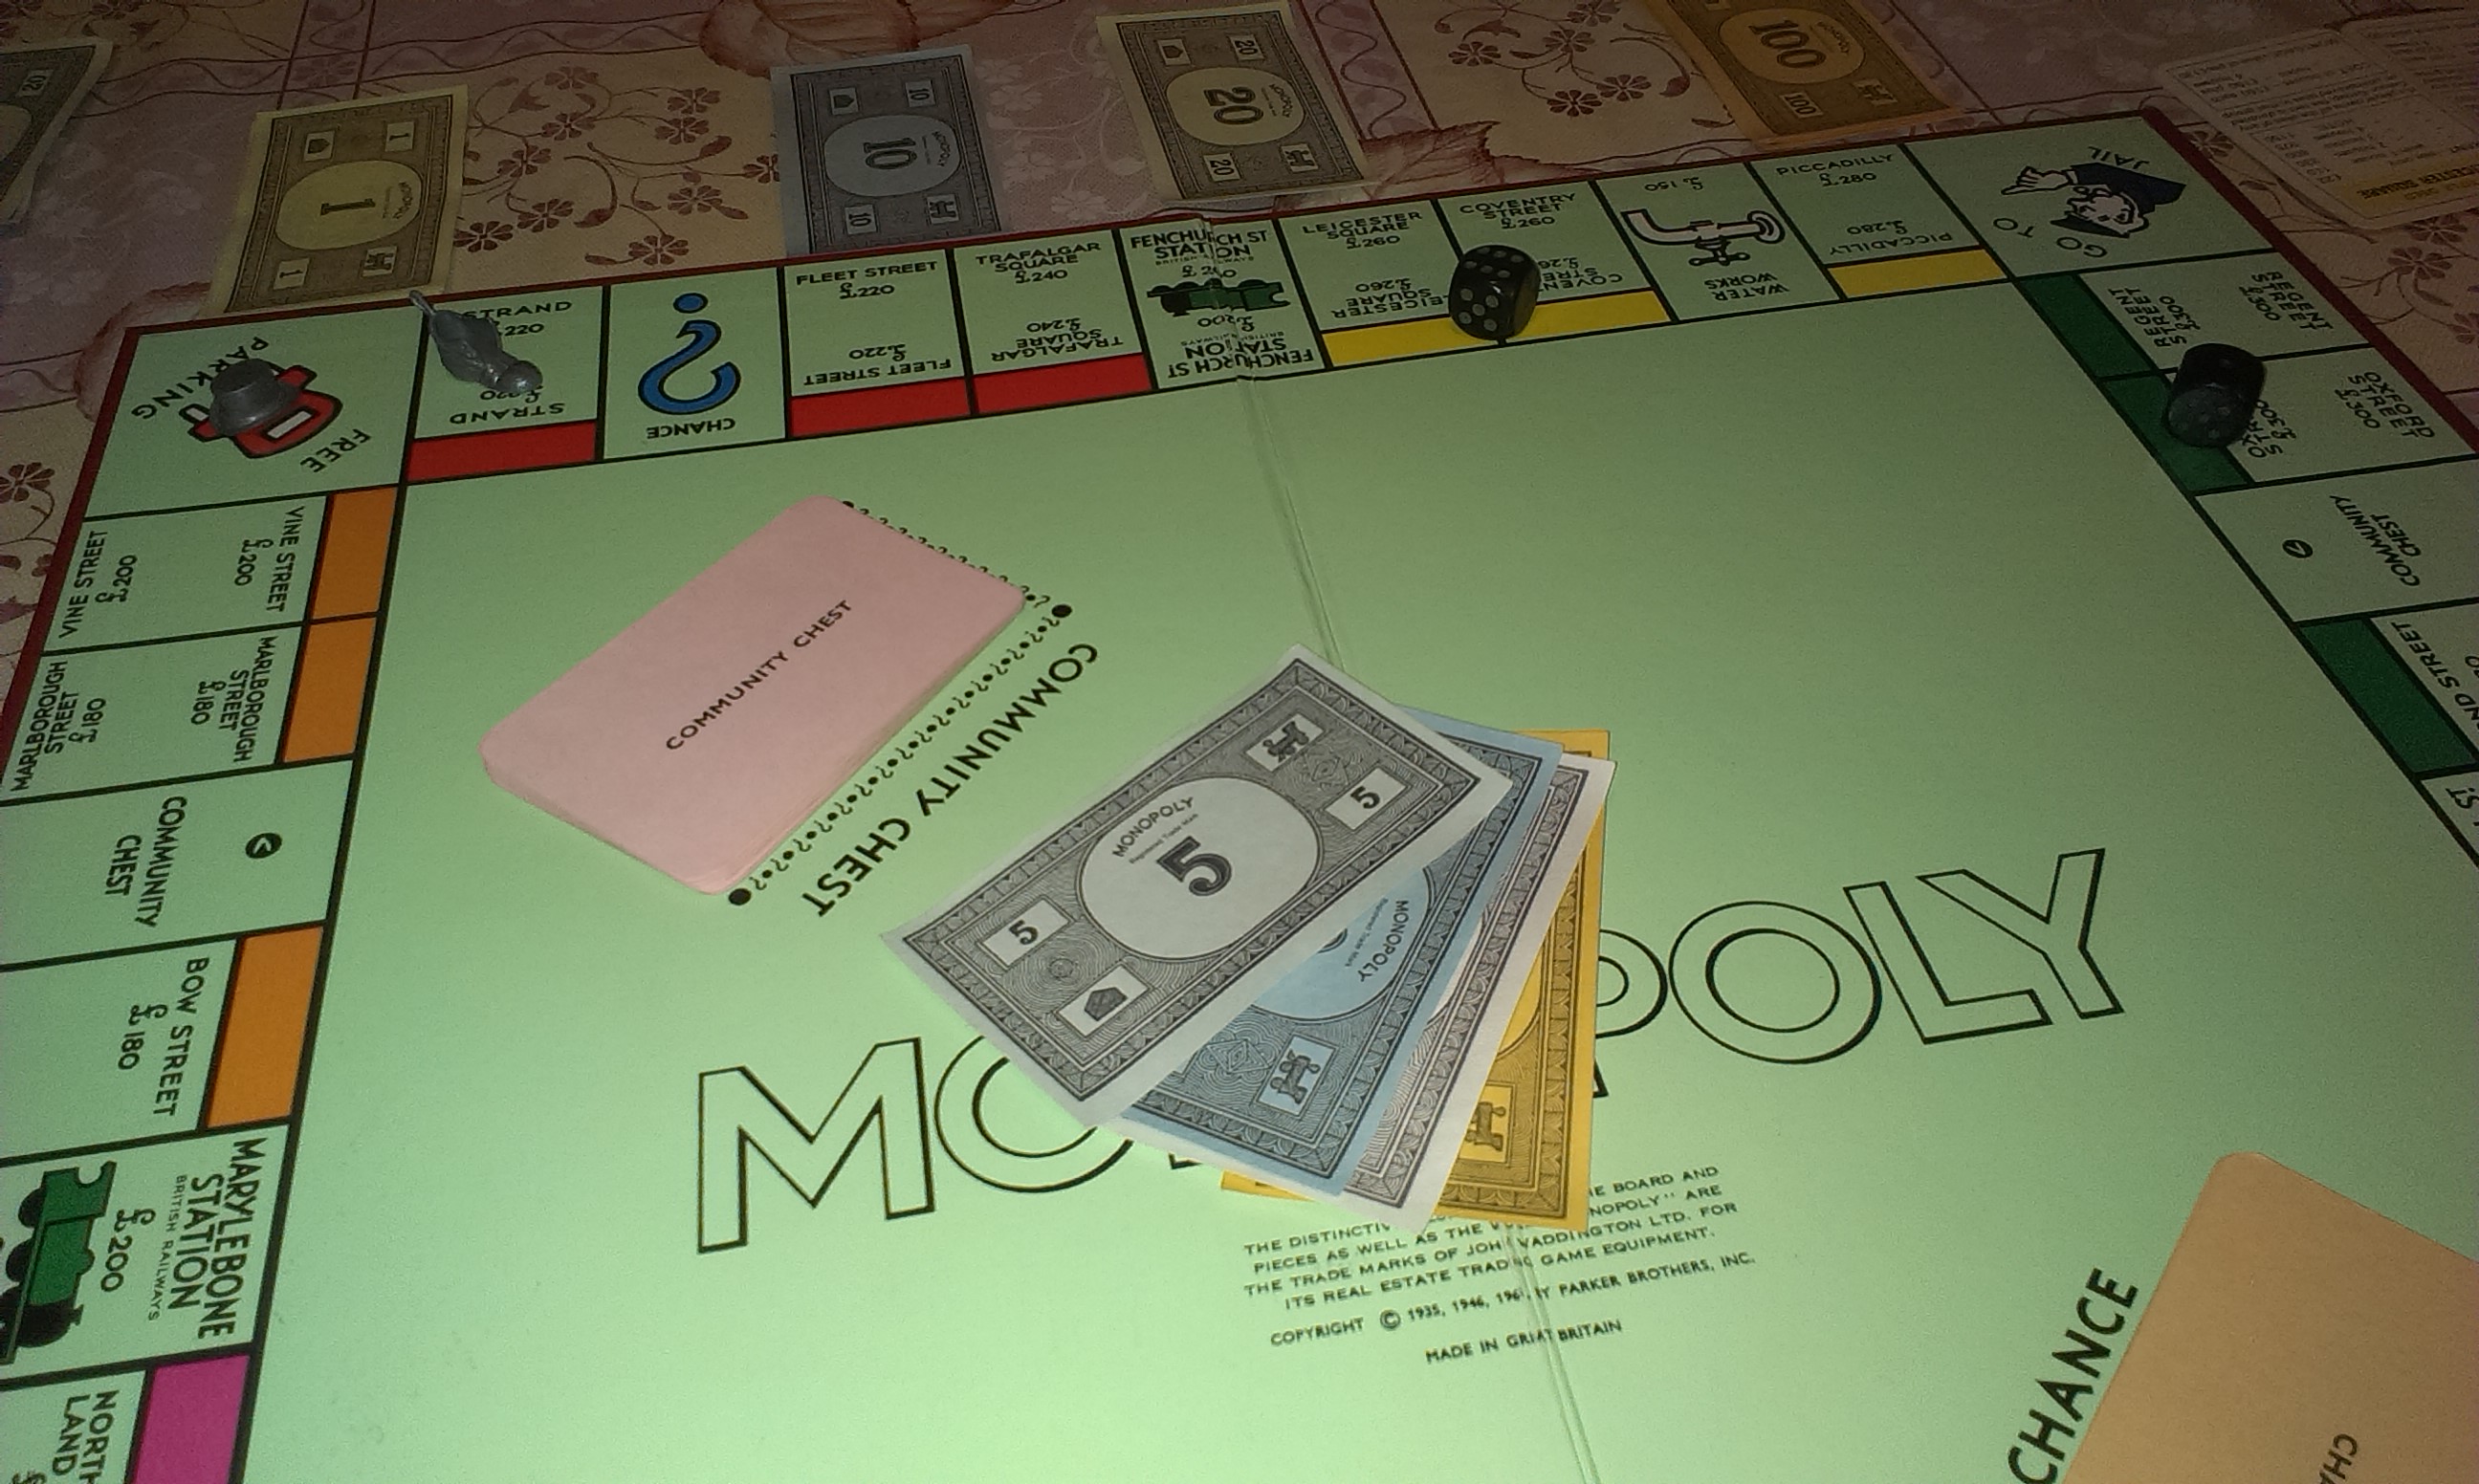
What’s In The Box:
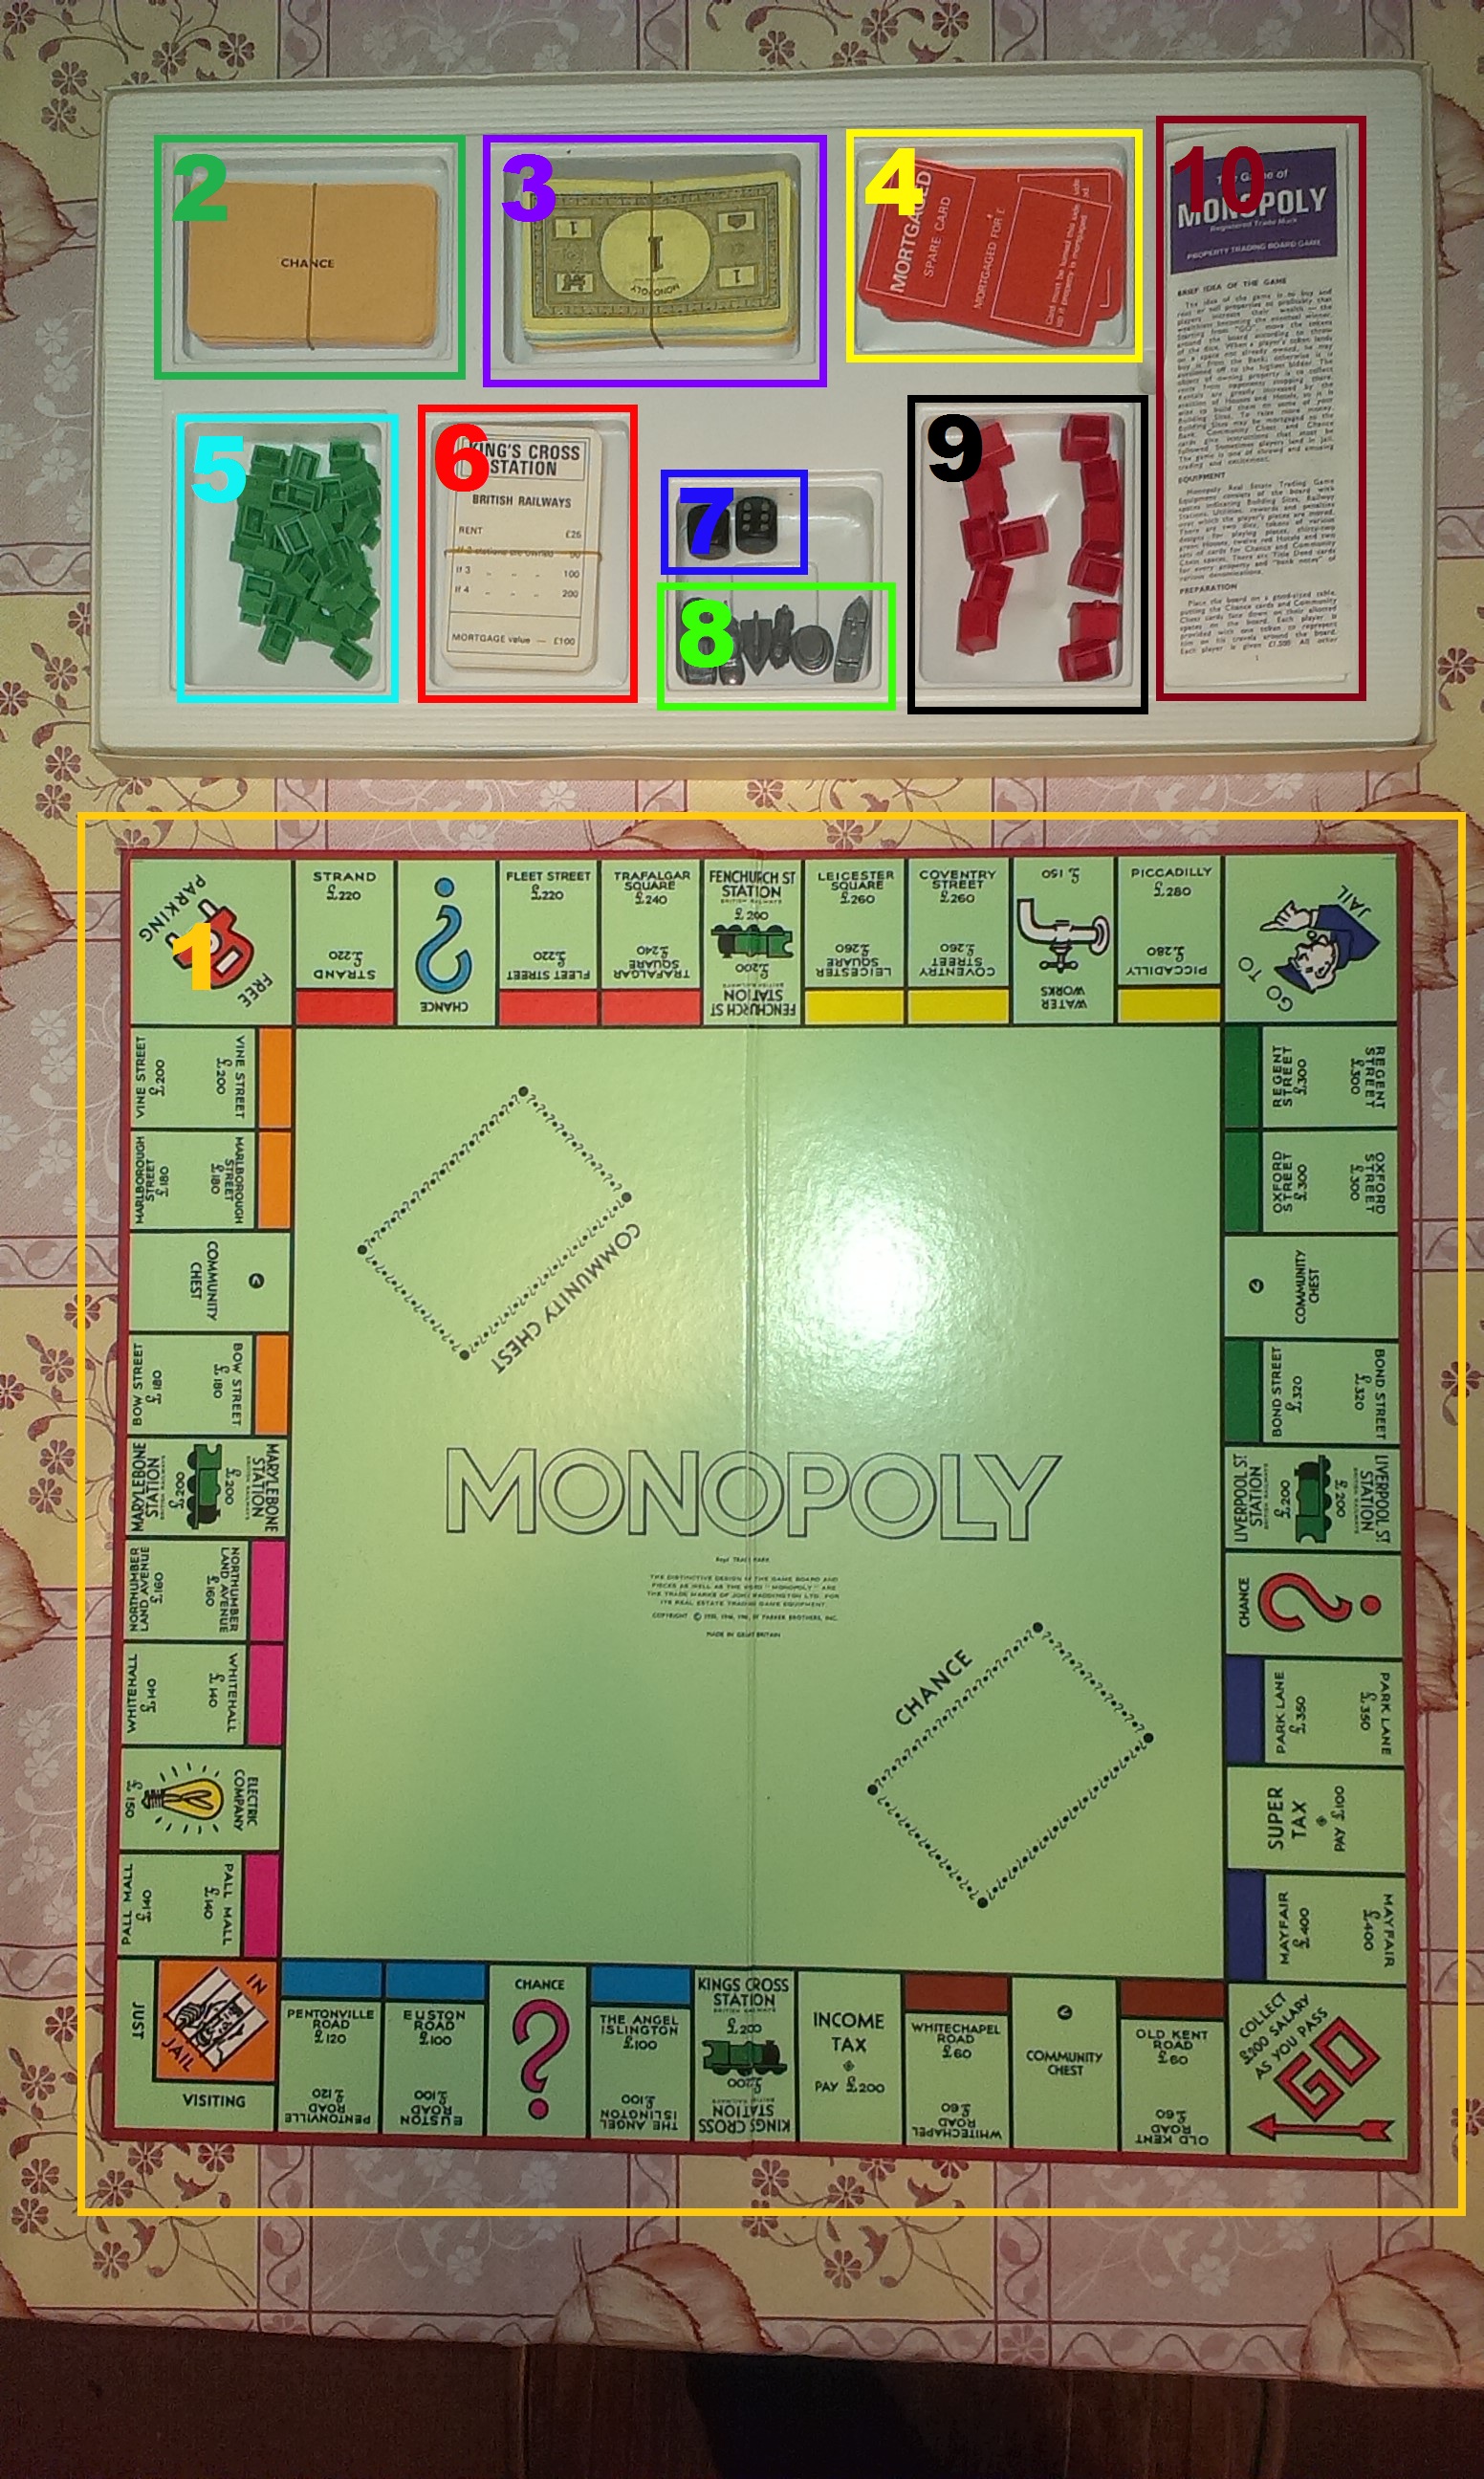
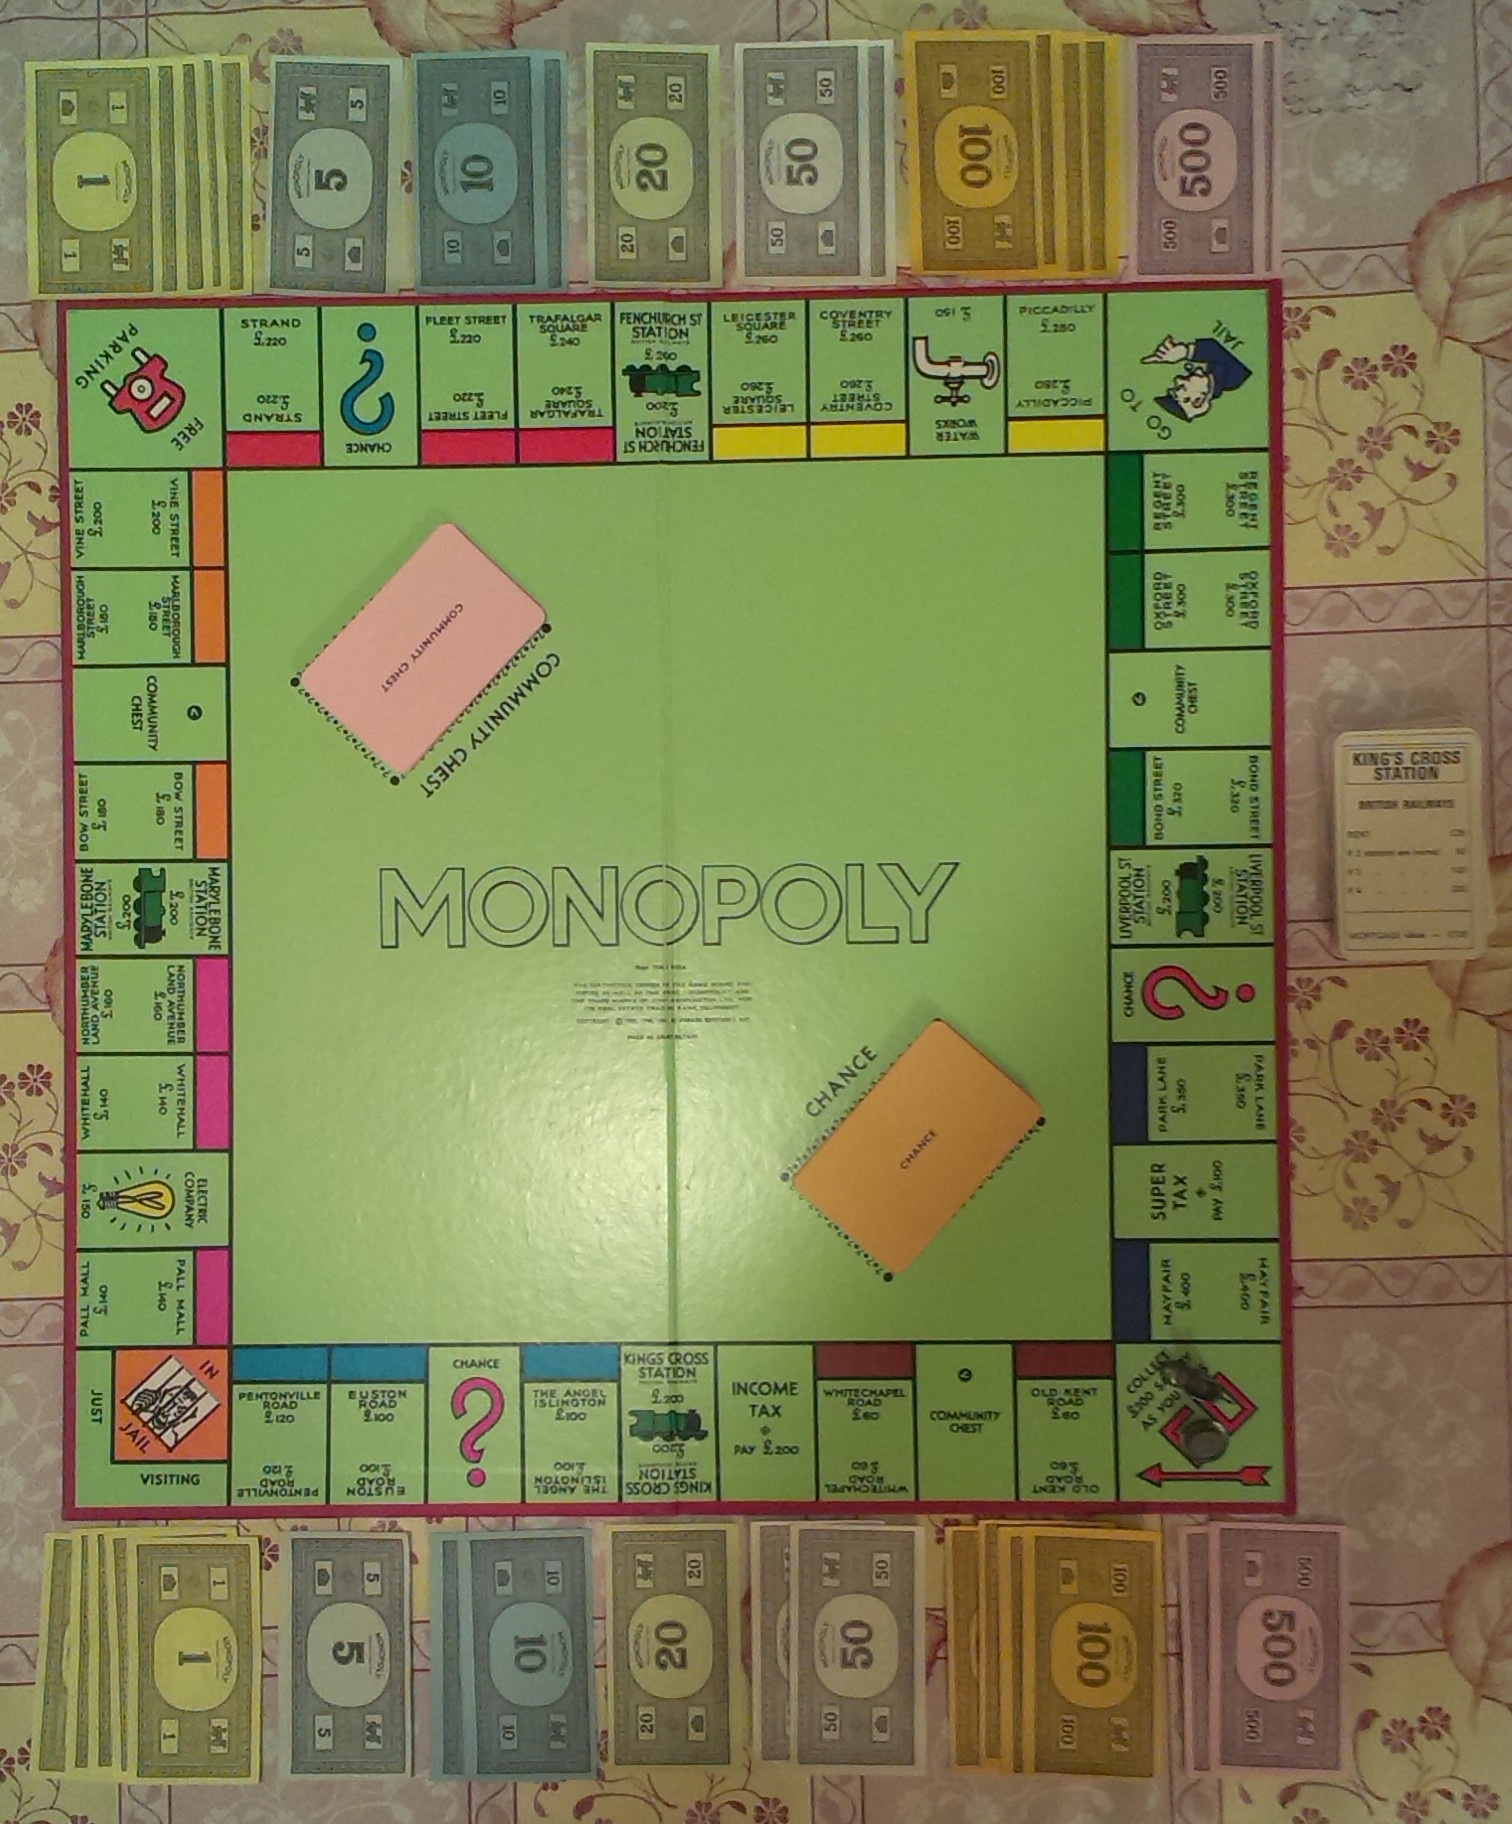
- Game Board
- 16 Chance cards and 16 Community Chest cards
- Game Money in denominations of 1, 5, 10, 20, 50, 100 and 500
- 2 Spare (blank) Title Deed cards
- 32 Houses
- 28 Title Deed cards
- Two standard 6-sided dice
- 6 Playing Tokens
- 12 Hotels
- Rule book
Playing The Game:
Objective: Buy and develop the most properties to either achieve Monopoly or bankrupt all your opponents.
Because the world is generally so familiar with Monopoly I’m going to try and keep this section brief. Essentially, to start the game you need to separate the Chance and Community Chest cards, shuffle them, and put them in their allotted spaces on the board. Then elect one player to be Banker, they’re in charge of making sure the correct amount of money goes in and out of the bank for the rest of the game. To start they deal out 2 x 500, 4 x 100, 2 x 50, 1 x 20, 2 x 10, 1 x5 and 5 x 1 to every player. Lastly you choose Tokens, put them on GO and then roll the dice to see who plays first. Highest roll starts.
Moving and Rolling Doubles:
Starting with the player who rolled the highest number players take it in turns to roll the dice and move the shown number of spaces around the board, moving clockwise. If a player rolls a double they may move, complete all actions associated with that move (buying property, collecting money on Chance cards, etc) and then roll again, and move again. However, if a player rolls three doubles in a row, they must go to jail. There are several options for things it’s possible to land on, the most common of which is a Property space.
Landing on a Property:
If you land on an unowned property you may buy it by exchanging the amount of money shown on the space with the Banker for the Title Deed for the property you landed on. However, if another player has already bought the property you land on you must pay them rent for stopping there. The amount of rent paid varies from card to card, increasing as you go further round the board. It also changes when a player owns all of a set of one colour of property, or develops the property by buying Houses or Hotels for it.
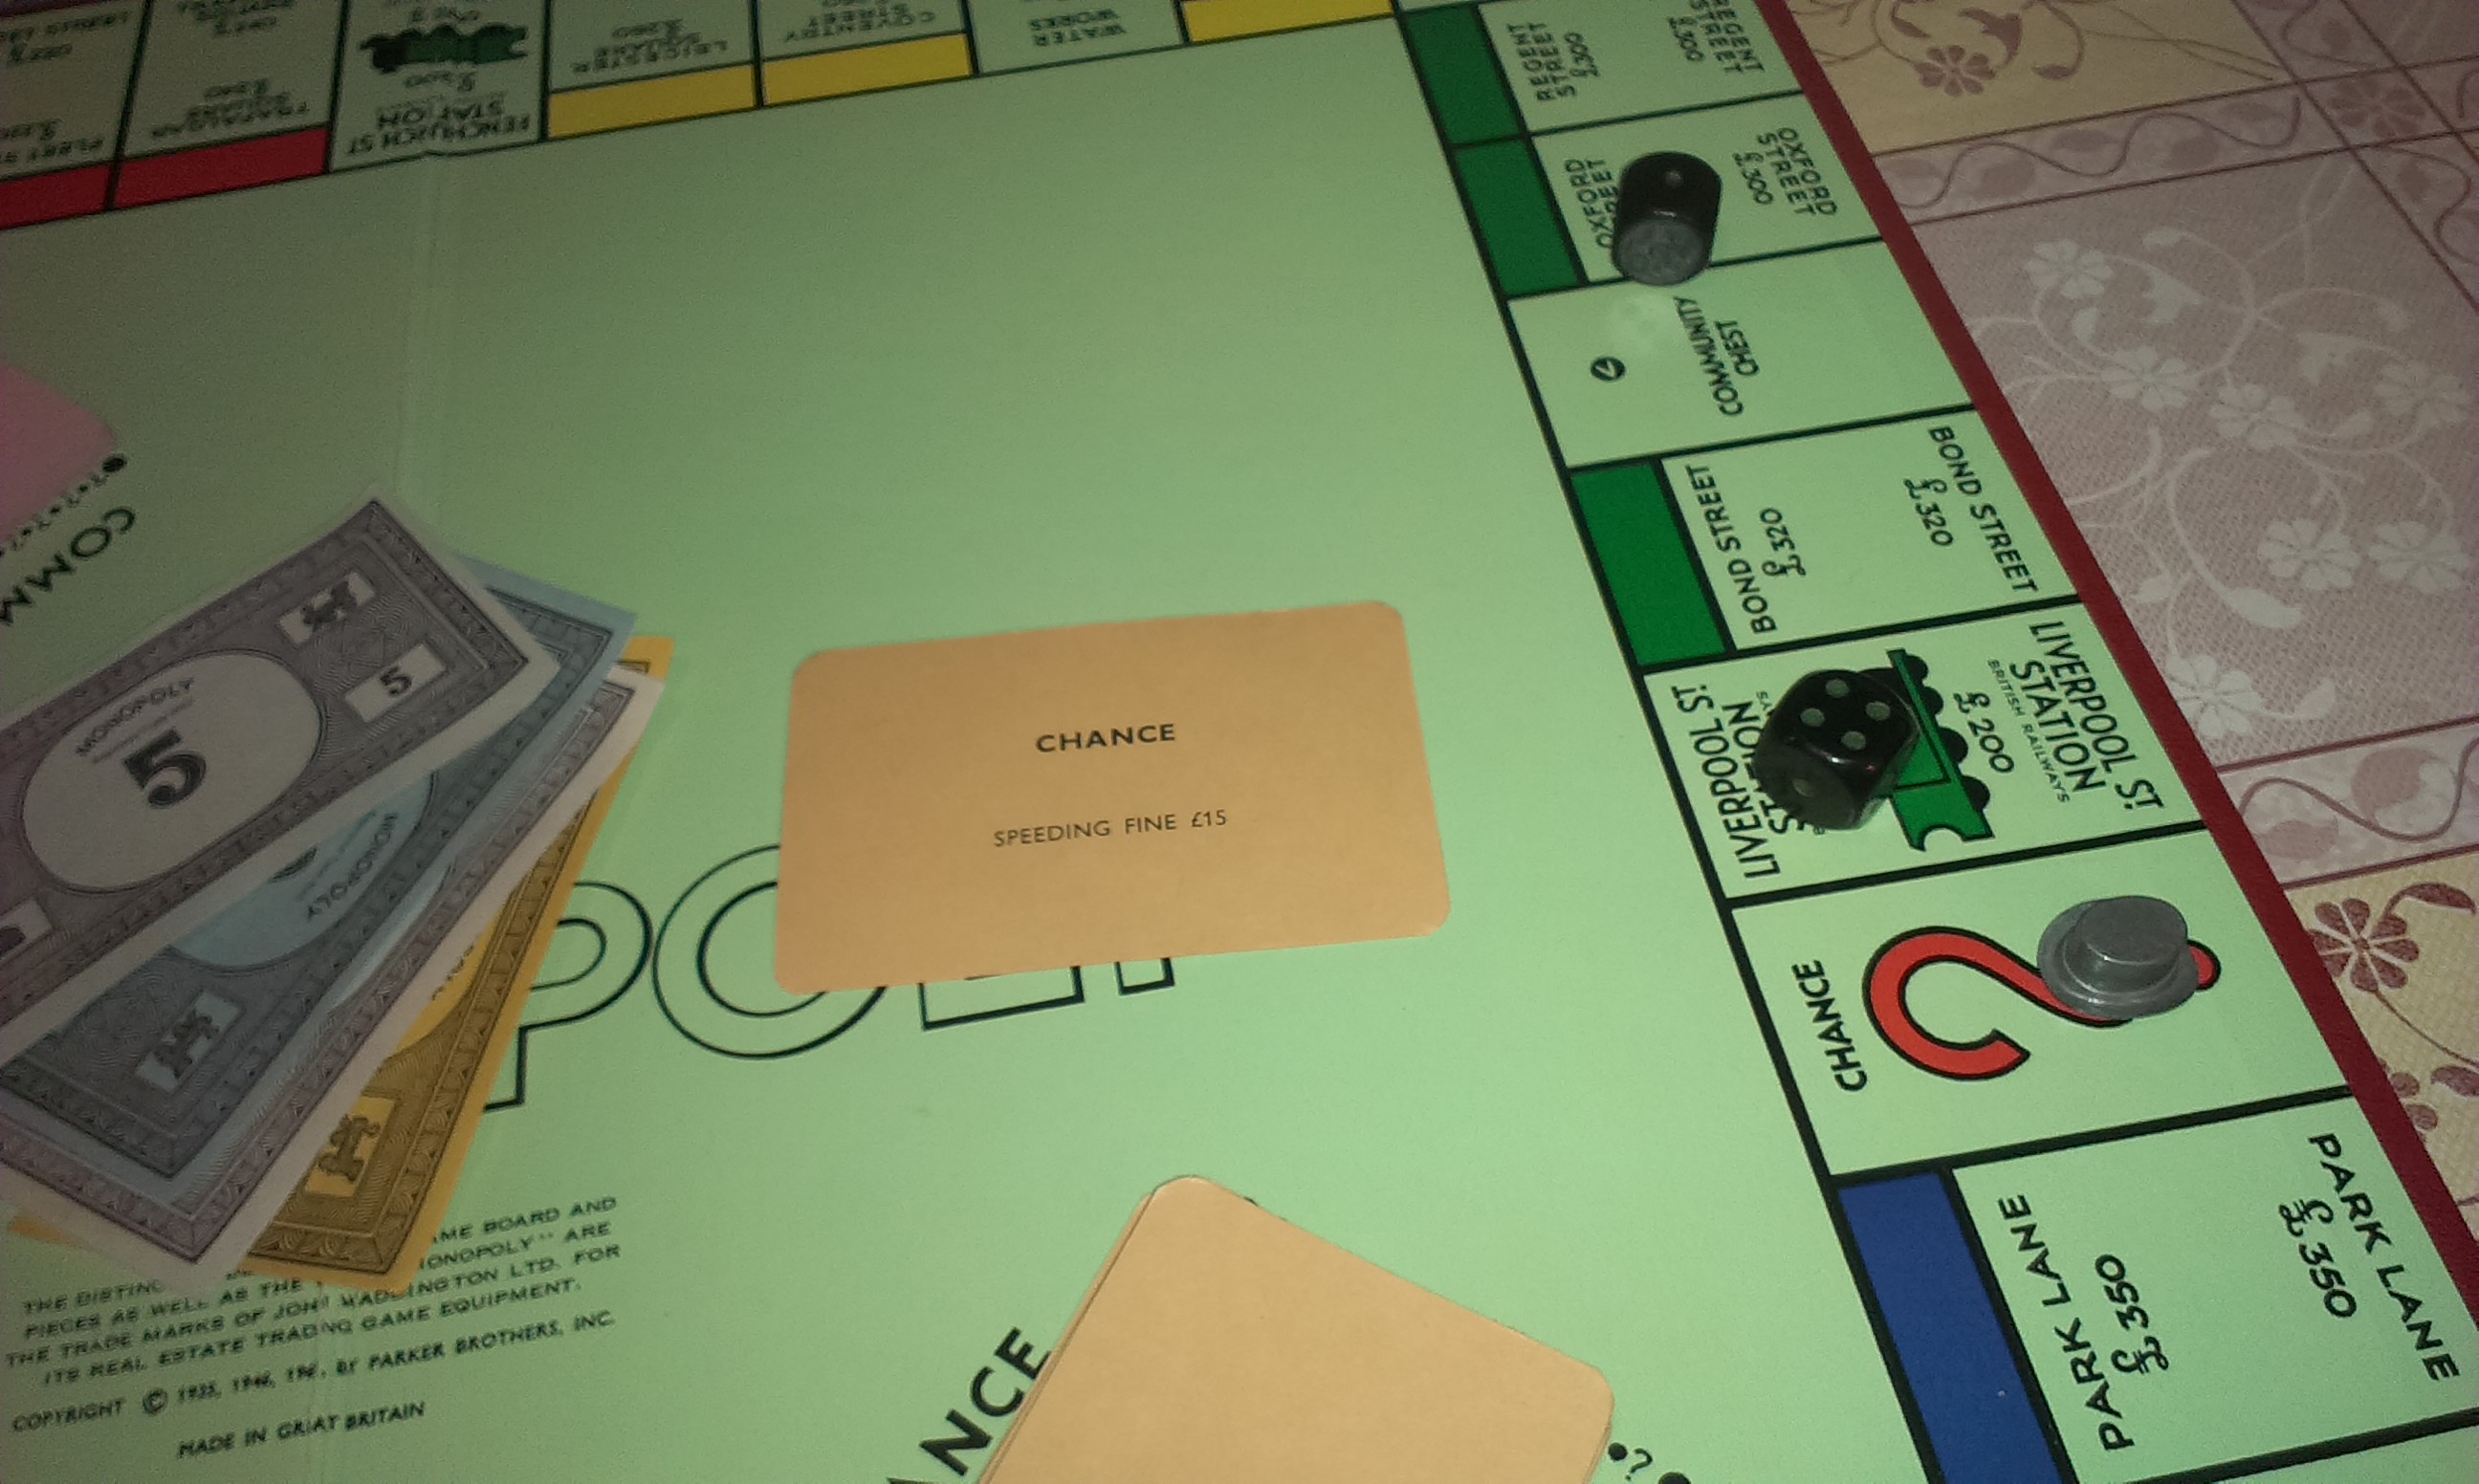
Chance or Community Chest:
There are three Chance and three Community Chest spaces around the board. If you land on one of these you must draw the top card from the relevant deck and follow all instructions on the back. Once completed you return the card to the bottom of the deck you took it from, unless the card specifies that it make be kept and used later, the only one of these in the decks is the Get Out Of Jail Free card. Once this has been used it is also returned to the bottom of the deck. Chance and Community Chest are a mixture of good and bad cards, they can be helpful things, like cards that allow you to roll again, or take some money from the bank. But they can also be bad, forcing you to pay taxes or go to jail, so landing on one is always a bit of a gamble. Unless the cards specifies money to be paid either to the bank or to another player, all money lost to these cards in placed in the middle of the board and can be claimed by landing on Free Parking.
Income Tax and Super Tax:
These are the only two spaces on the board that can force you to pay money, and this money is paid straight to the bank.
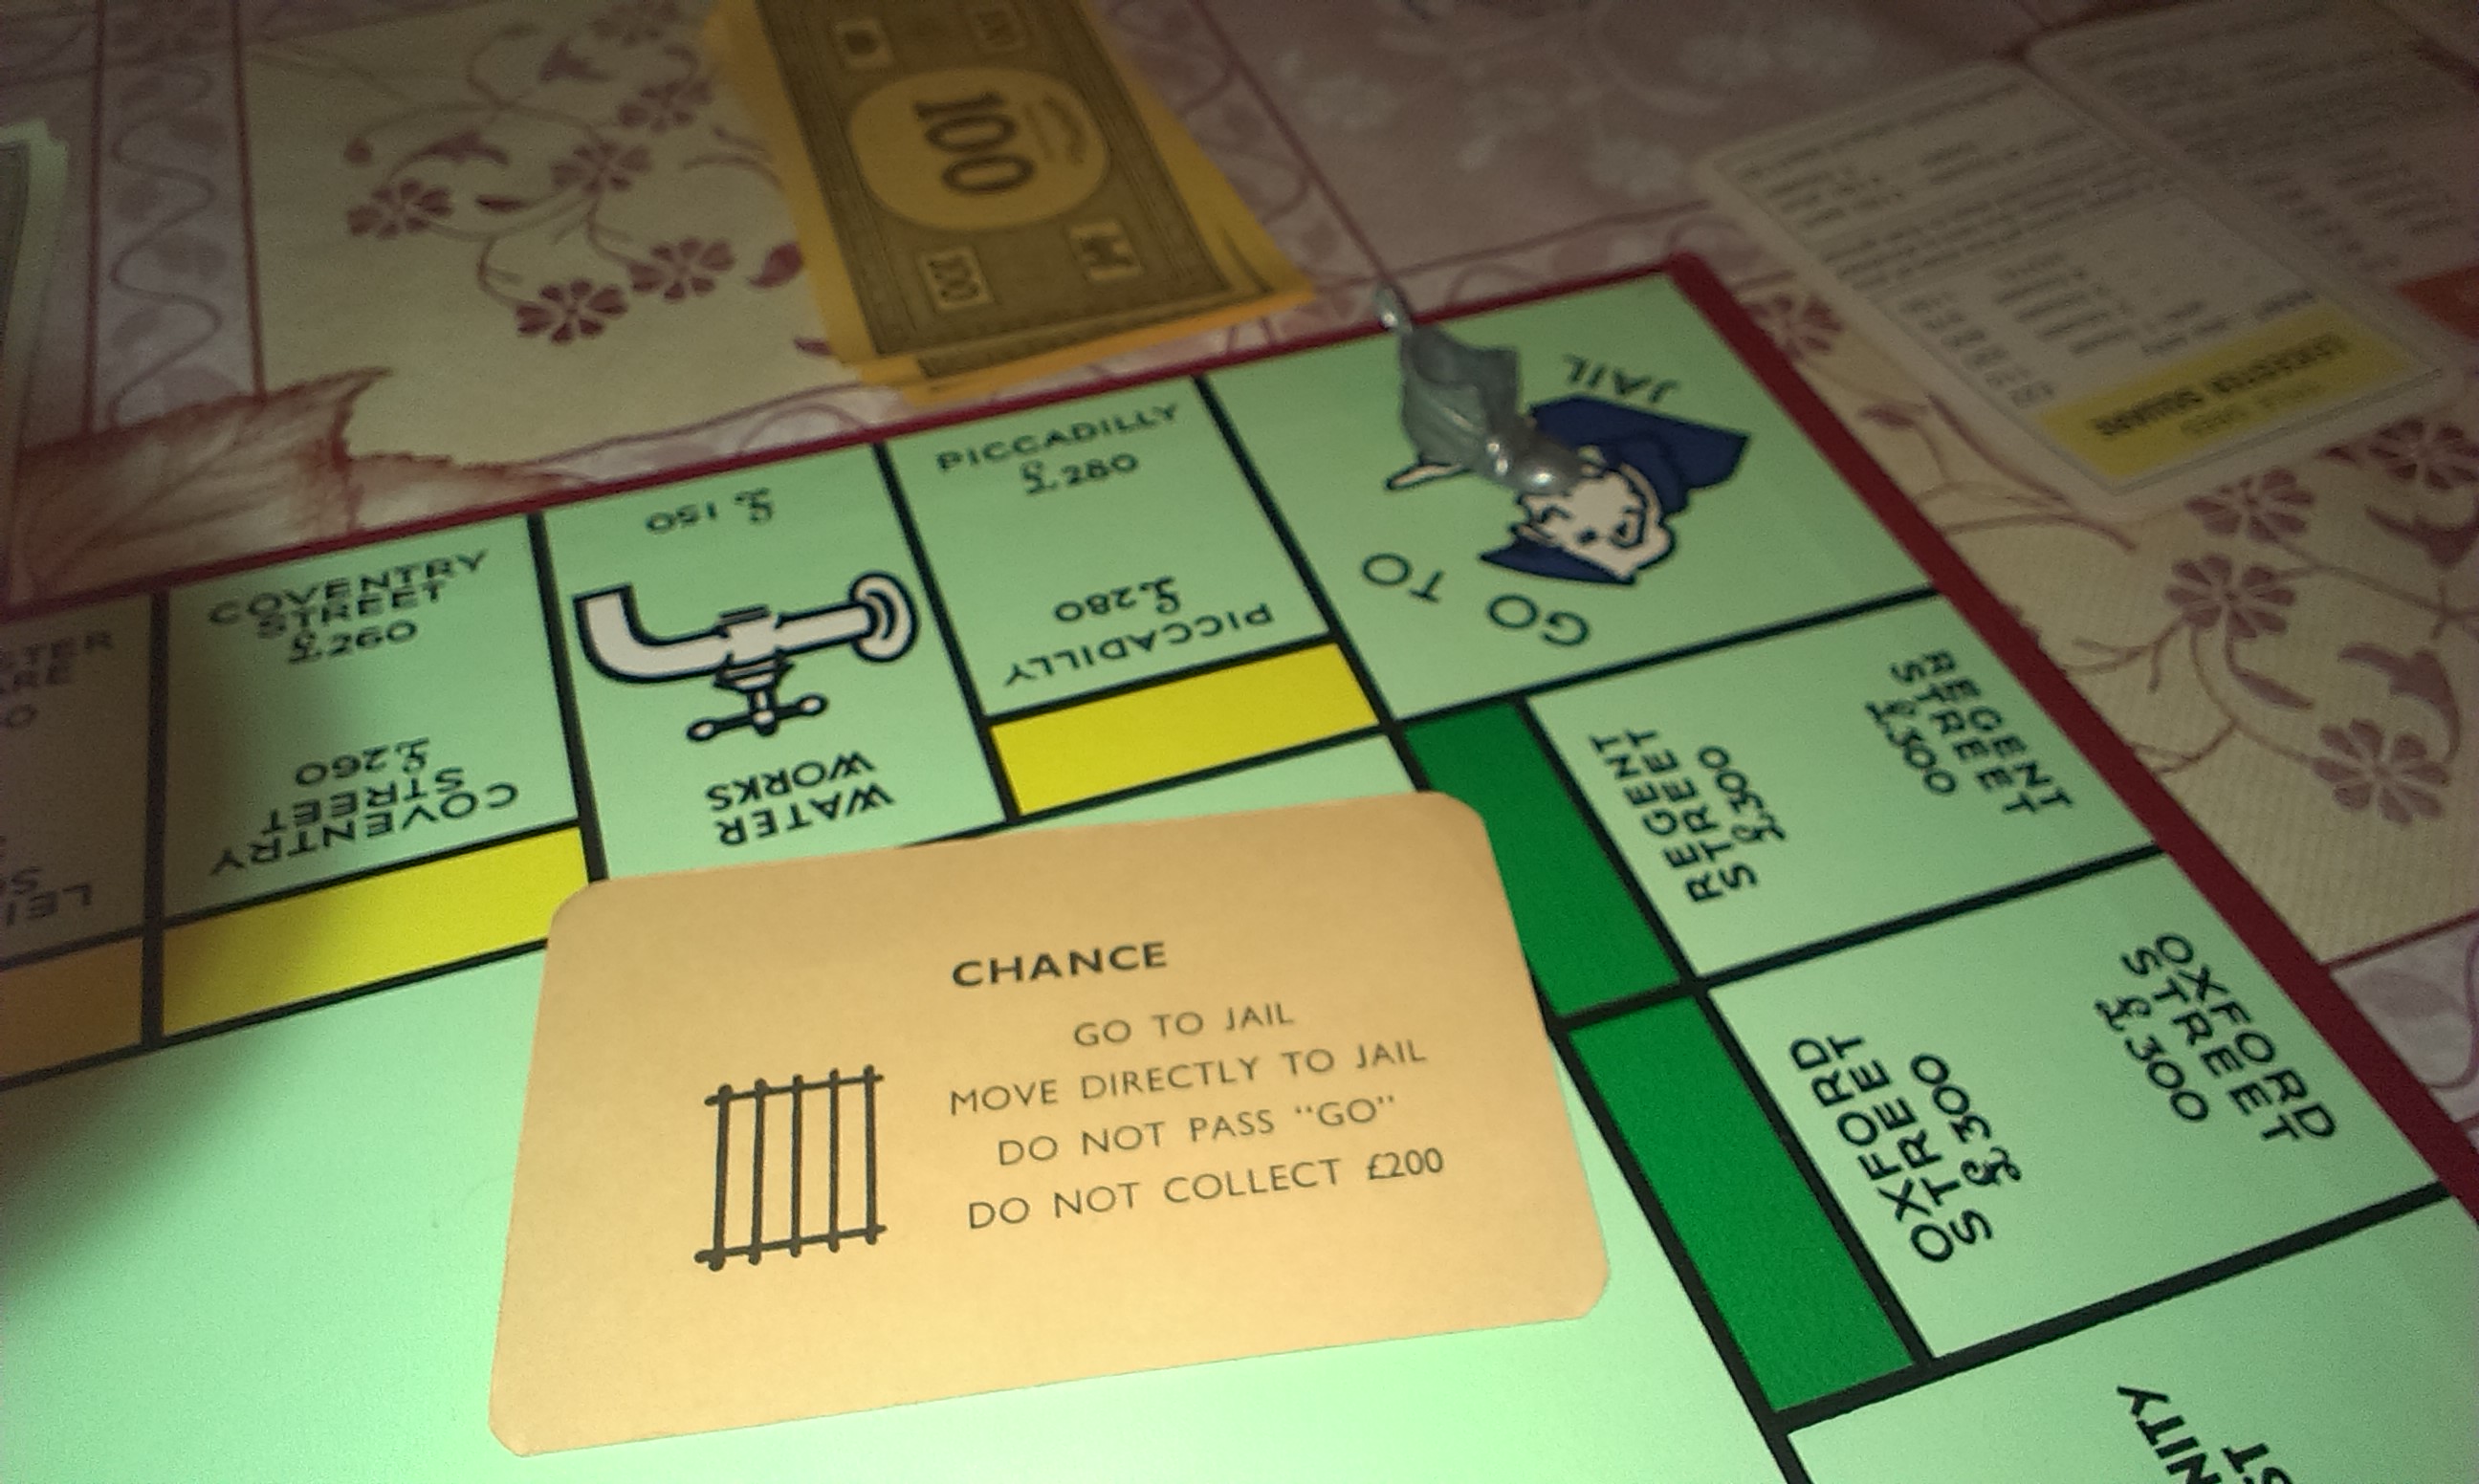
Jail and Go To Jail:
These two spaces are diagonally opposite to each other on the board. The jail space itself is most irrelevant to game play – acting as a space where nothing happens – unless you get a Chance or Community Chest card that sends you to jail, you land on the Go To Jail space, or you roll three doubles in a row. These are the only three actions that can send a player to jail.
Getting out of jail is slightly harder than getting in, you can get out of jail by doing one of the following: throwing a double on any one of the three turns following you being sent to jail, playing a Get Out of Jail Free card, either by already having it in your possession before you went to jail, or by buying it off another player for an agreed price, or, paying a fine of £50. If you choose to try and roll your way out of jail, but on your third roll do not succeed in throwing a double, you must then pay the fine.

After this is paid a players turn may continue as normal, moving and buying property. Whilst in jail a player may also collect rent, buy or sell properties and build Houses or Hotels. The only thing they really miss out on is moving and passing GO.
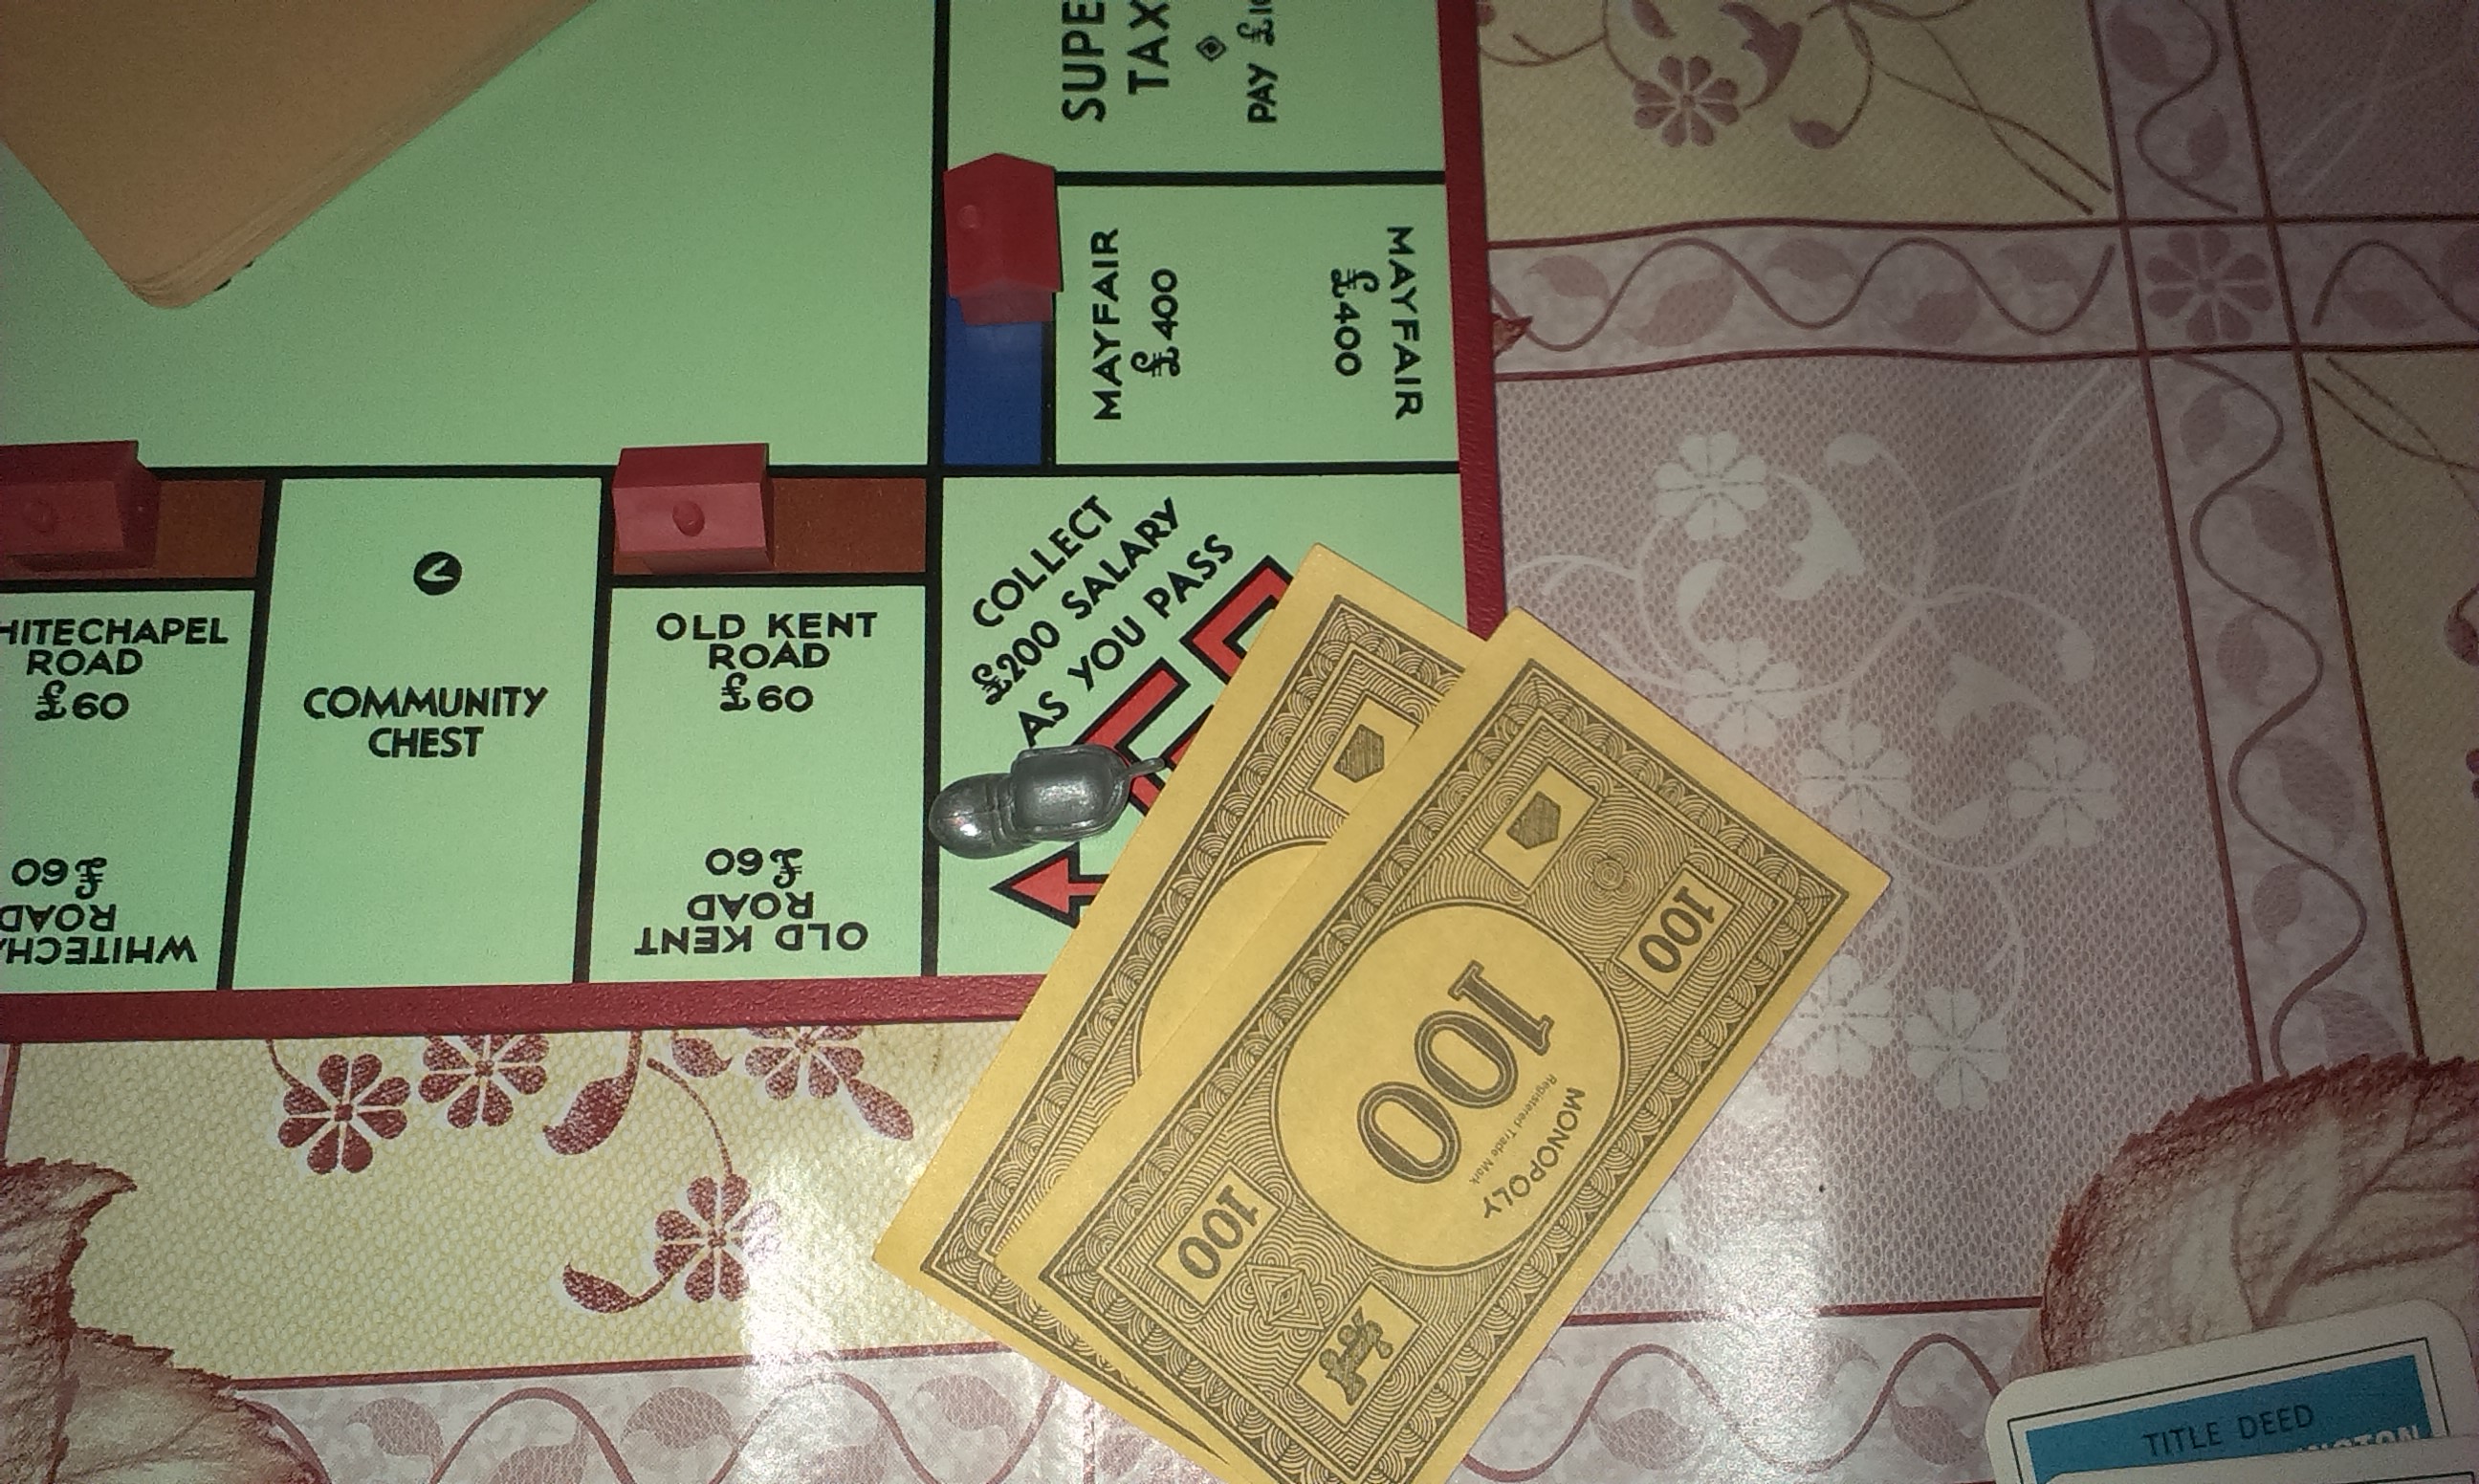
GO:
When a player passes or lands on GO at any point after the start of the game (with the exception of if they’re being sent to jail) they collect £200 from the bank.
Houses and Hotels:
A player can purchase these when they own all of one set of a property. For example, they own both Park Lane and Mayfair they would be able to purchase Houses, and then Hotels for them, like this:
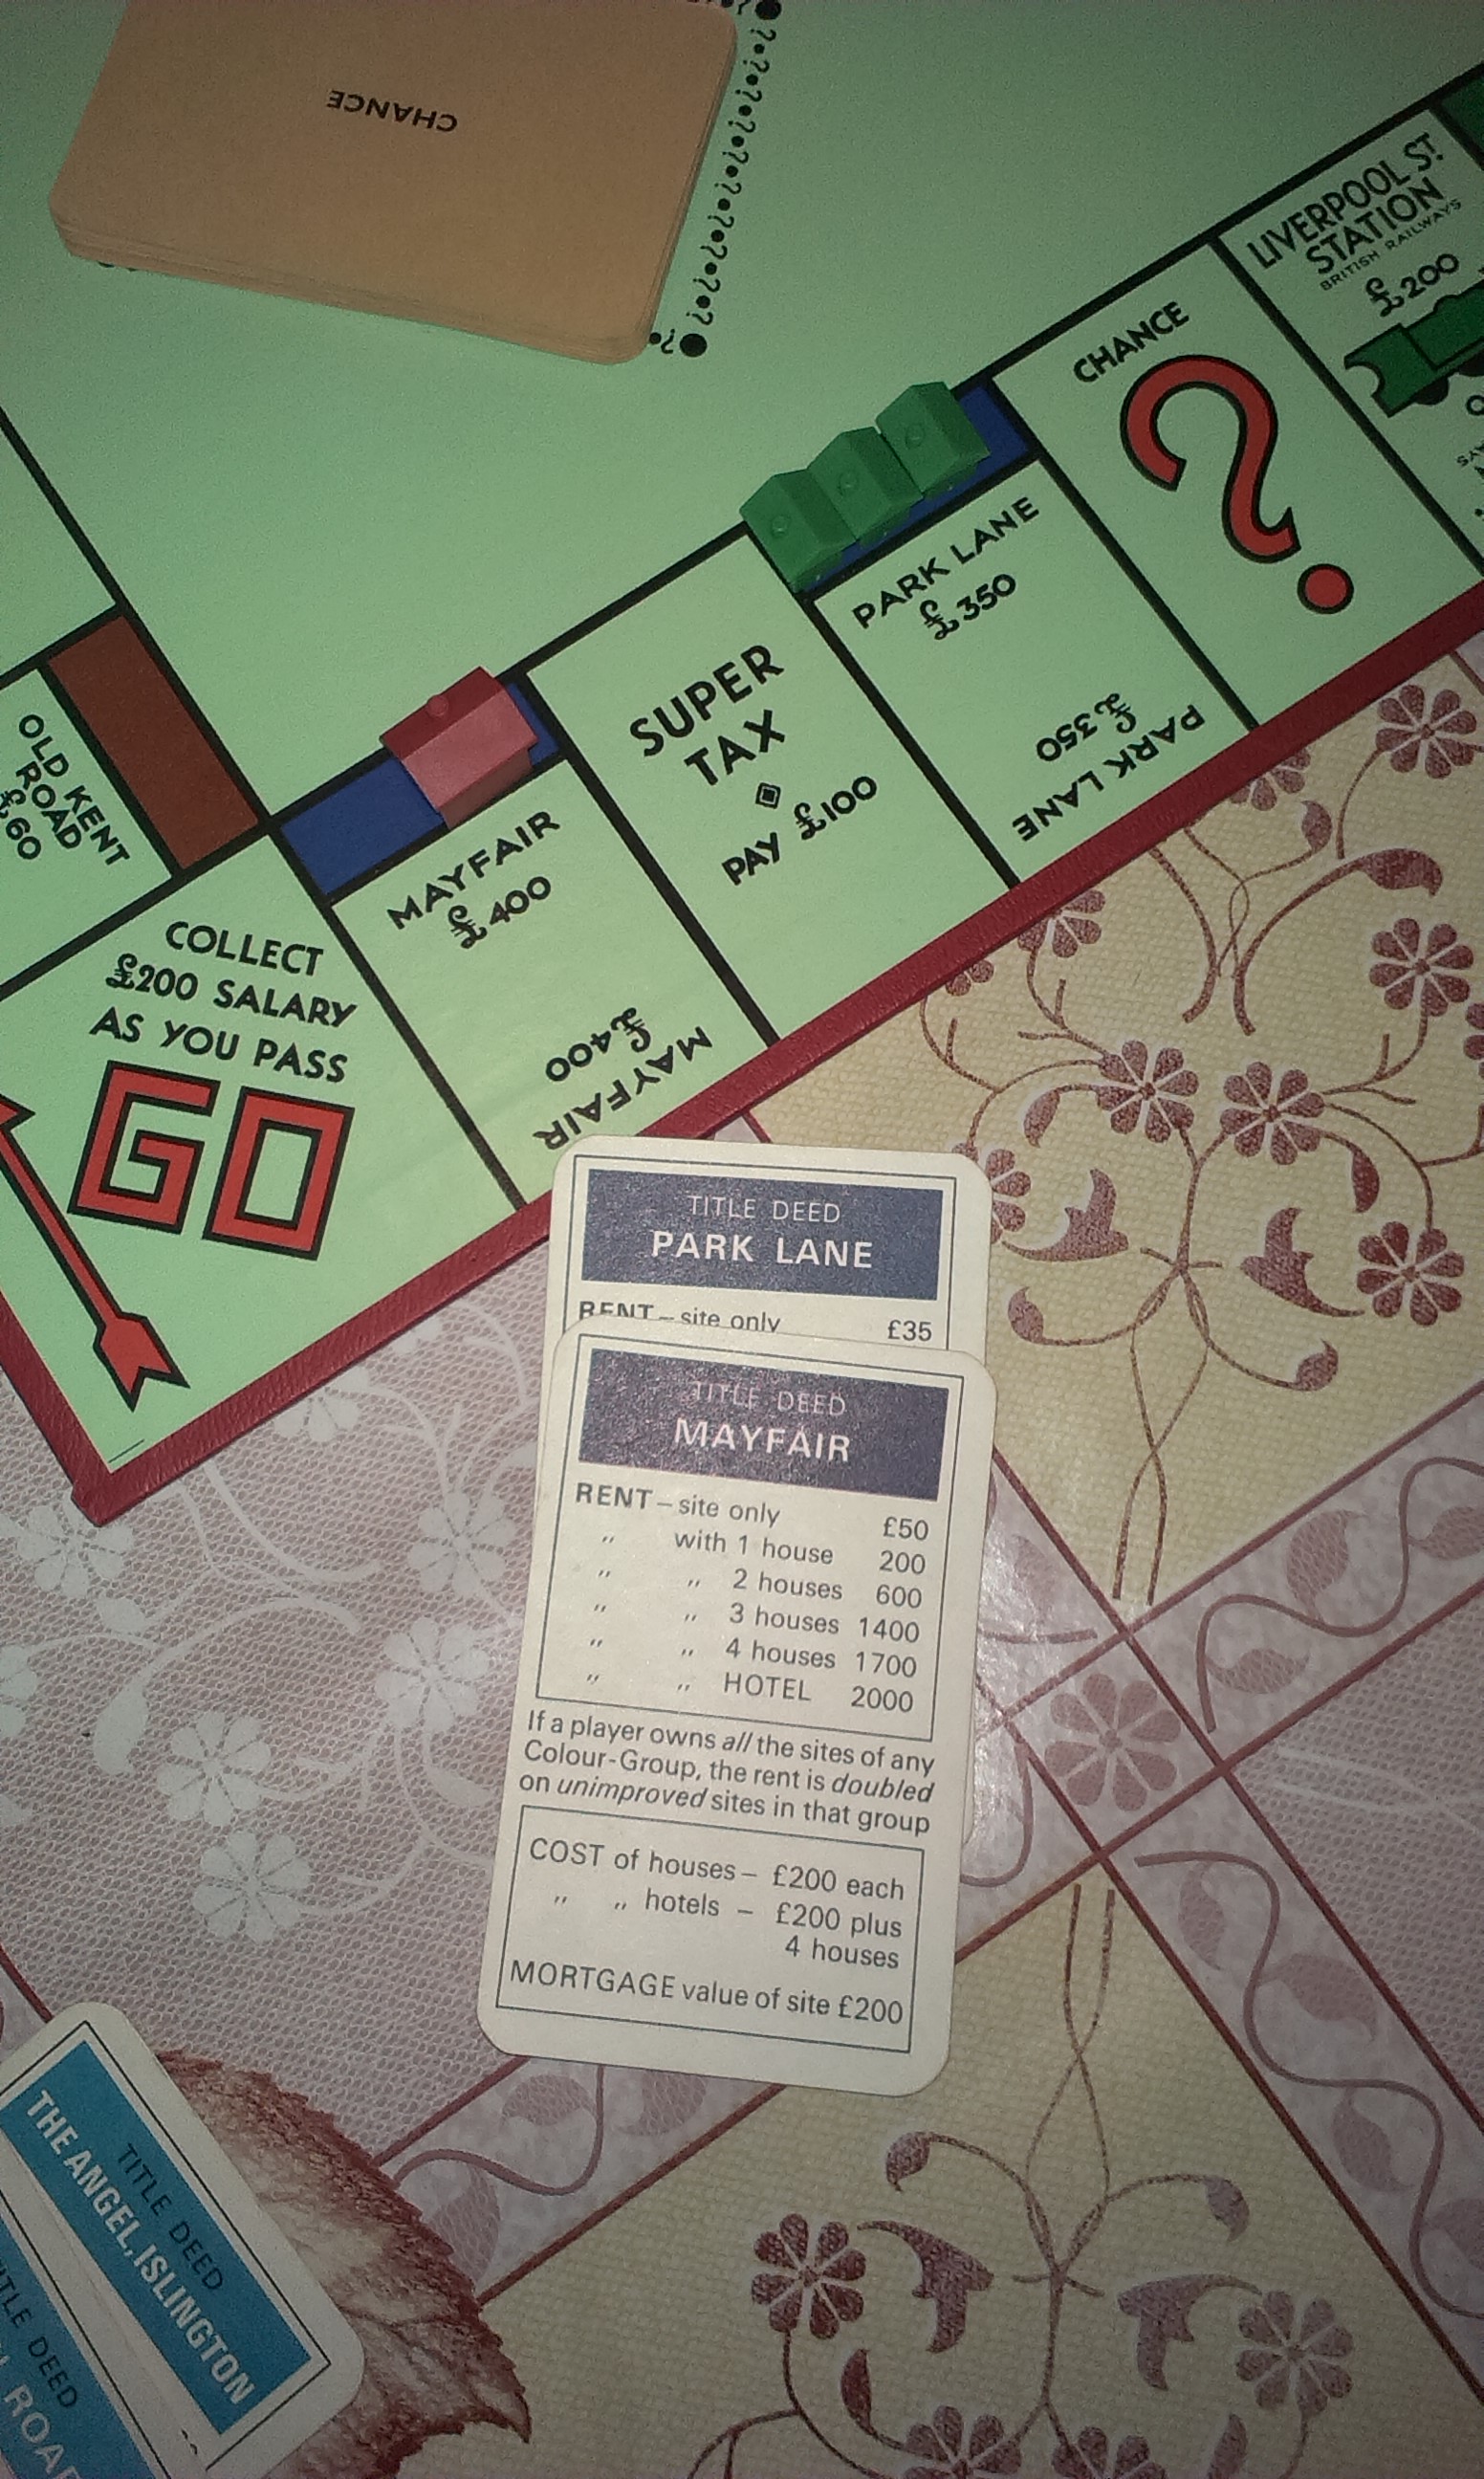
Before buying a Hotel for a property a player must first buy four Houses. They cannot jump ahead a put a Hotel straight onto the most expensive property they own.
Free Parking:
When a player lands on Free Parking they can collect any money that’s currently in the middle of the board, this is a nice bonus, especially if it was mostly your money to begin with.
Winning The Game!
A player wins the game when they have either bankrupted all their opponents, or they’ve achieved Monopoly by buying every single property on the board. This is a simple objective that’s actually pretty hard to achieve. When we play we usually end up ascertaining a winner by cashing up at the point that everyone agrees they’re bored. The person with the most money (inclusive of property value) is then proclaimed the winner.
Players in debt to other players can mortgage their properties to the bank to try and pay off their debts, these properties are place face down in front of their owner, and can be bought back from the bank at a later stage of the game. Properties can also be given to a player as part of paying off a debt if you don’t have enough money.
Strategy:
- Buy as many properties as possible! I am deadly serious about this, if you don’t buy anything because you’re holding out for one particular property (which you may or may not land on, depending on the roll of the dice) and end up hoarding your money, it’s not going to do you any good. You’ll be able to just pay rent and taxes and such for a while, but then, as there are more and more spaces on the board that you have to pay to stop on, you’ll find that you fast run out of money. Buying up lots of properties also prevents your opponents from being able to complete sets of properties and therefore stops them buying Houses or Hotels. This gives you good trading leverage later in the game.
- Don’t be rash. If an opponent wants to trade a property with you, don’t accept whatever they offer first, see if they’ll give more, and if they won’t, keep it until they desperately need it. When this happens, you should be able to name your price.
- If you’re playing with someone who’s irritatingly good at this game, team up against them! Rope in all the other players and support each other with loans and stuff to try and bankrupt this one player. Once that’s done and they’re out of the game you can then turn on each other. Not very sportsman-like, I know, but hey, it’s a dog-eat-dog world out there.
- Other than that, don’t be too open about which properties you really want, if you’re trying to get a specific set for some reason, this only drives up the price if you want to buy or trade one off another player.
History and Interesting Things:
- The first version of the game was designed by an American, Elizabeth Magie, and patented in 1904 under the name The Landlord’s Game.
- It was originally intended to show the consequences of Ricardo’s Law of Economic rent and Georgist concept of a single tax on land value.
- The game went through so many changes and revisions between its original publication and the Monopoly that we’re all familiar with now that by the 1970’s it had become popular folklore that Charles Darrow was the sole creator of the game.
- This was so much believed that it was printed in the rules for a fair few years as well as in a book about Monopoly printed in 1974, and was cited in a book about toys as recently as 2007.
- No family I’ve played this game with has ever played it the same way, or followed all the rules, for example, in our house we have a rule that if you pass GO you collect £200, but if you land on GO you can collect £400. I believe this rule was invented by our mother as a way of getting her more money when she was losing to her various children.
- When playing the long version of the game it can literally go on for days. Our record was 5 days, a game left out on the living room floor for almost the whole of a rainy half term.
- I don’t think I’ve ever played a game where someone’s managed to achieve Monopoly. We’ve all gotten bored and gone away before that happens.
- When Ralph Anspach created Anti-Monopoly in 1973, Parker Brothers tried to sue him for copyright infringement, the case went to trial in 1976, but in 1979 Anspach won on appeals, the ruling being that the Monopoly trademark was generic, and therefore unenforceable.
- There have been several video game versions of Monopoly. I remember that we used to have a PC game of Monopoly, which was one of the only things we were allowed to do on the computer when we were small.
- http://http://www.youtube.com/watch?v=nif68iBR3LA
To Conclude:
One of the most classic of classic games, really good fun for all ages, but can be the cause of a vast number of arguments. If you haven’t played it, you should, at least once. There’s a reason this game’s sold so many copies and been reproduced in so many countries and versions – because it’s awesome. Having said that, I have only rated it 3 out of a possible five on our ratings at the top of the posts, this is mostly because the game can take days, and games that have definite ends tend to be more desirable, and less overwhelming when you sit down the play them.
I read about the history of the game on Wikipedia (and we all know that it’s super-trustworthy information) here.